Rapid Shipping
Experienced Team
Like any powerful tool, routine care of your reel mower is the secret to maintaining peak performance. We get it — you want your reel mower to roar, not whimper. That’s why we’re here to guide you through the essential maintenance rituals that will keep your reel mower not just cutting grass but making a statement on your lawn.
Just as a well-crafted story improves with time, your mower evolves gracefully when given the care it deserves. Regular maintenance isn’t just a chore — it’s a commitment to extending the life of your reel mower. The precision-engineered components thrive when tended to.
Safety isn’t just a feature; it’s a cornerstone of the reel mower experience. Regular maintenance is pivotal in ensuring your mower operates safely. From checking vital components to ensuring secure connections, our maintenance rituals are designed to provide peace of mind.
Why settle for good when you can have exceptional? Regular maintenance isn’t just about preventing breakdowns; it’s about unlocking your reel mower’s full potential. Our goal is to maximize efficiency and performance, starting with simple yet effective maintenance practices.
We understand the journey to a pristine lawn begins with the care you invest in your mower. Follow these essential maintenance steps to ensure your reel mower not only stands the test of time but continues to redefine your lawn care experience:
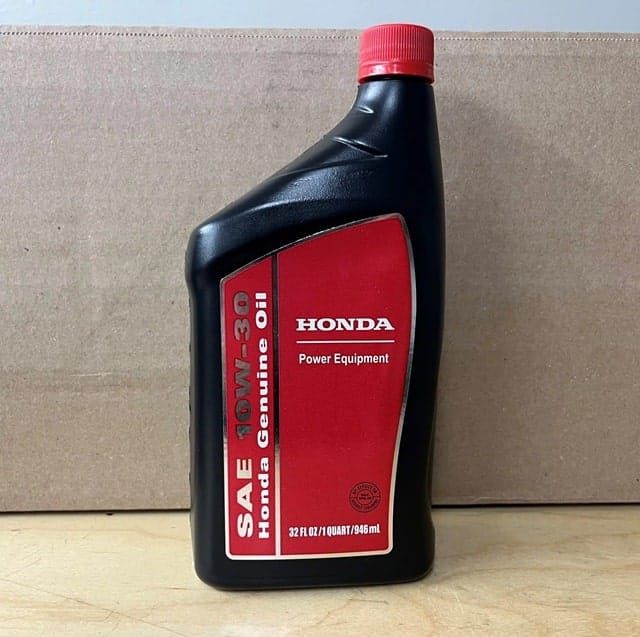
Oil is the lifeblood of your Reel Roller’s engine. Like any internal combustion engine, a reel mower’s engine consists of various moving parts that generate friction as they operate. Without proper lubrication, these parts would wear out quickly, leading to reduced efficiency, potential damage, and a shortened lifespan of the mower.
Oil serves several critical functions in the engine of a reel mower:
Maintaining your reel mower involves periodic oil changes to ensure optimal performance and longevity. Follow these step-by-step instructions to effortlessly change the oil and keep your mower in top condition.
Following these simple steps will keep your reel mower’s engine running smoothly, ensuring a beautifully manicured lawn every time you mow.
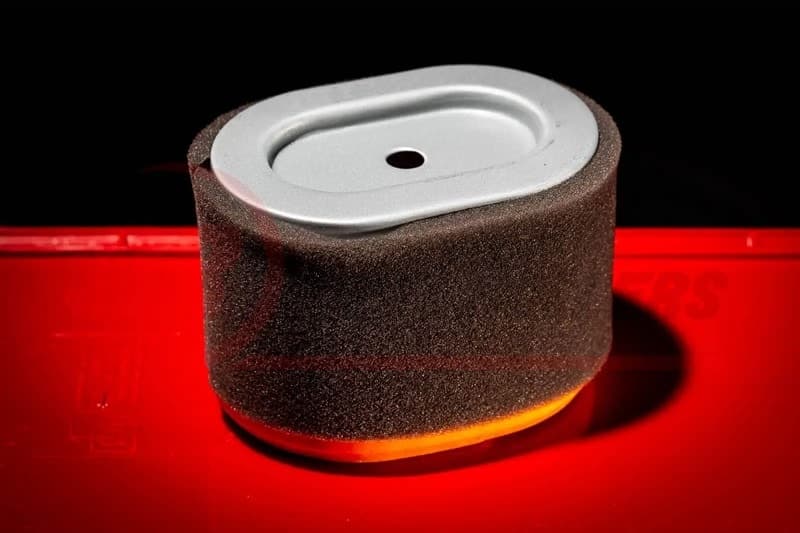
The air filter in your reel mower plays a pivotal role in maintaining engine performance. Think of it as the first line of defense, safeguarding the heart of your mower from harmful debris and contaminants.
As your mower operates, it draws in air for combustion, and the air filter ensures only clean, particle-free air reaches the engine. By preventing dirt, dust, and debris from entering the engine, the air filter promotes efficient combustion, optimal fuel-air mixture, and overall smoother operation.
Cleaning:
Regular cleaning of the air filter is essential to ensure a constant flow of clean air to the engine. Follow these steps:
Replacing:
Over time, air filters can become worn or damaged, compromising their effectiveness. Replace the air filter if:
To replace the air filter:
By keeping the air flowing freely to the engine, you ensure consistent performance and extend the life of your mower’s engine, contributing to a pristine lawn every time you mow.

Regularly inspecting and replacing the spark plug is crucial for maintaining a reliable and efficient reel mower engine. Here’s a step-by-step guide:
Tools and Materials:
Replacement Steps:
Install the New Spark Plug:
Follow the manufacturer’s guidelines for spark plug replacement intervals, and you’ll keep your reel mower running smoothly season after season.
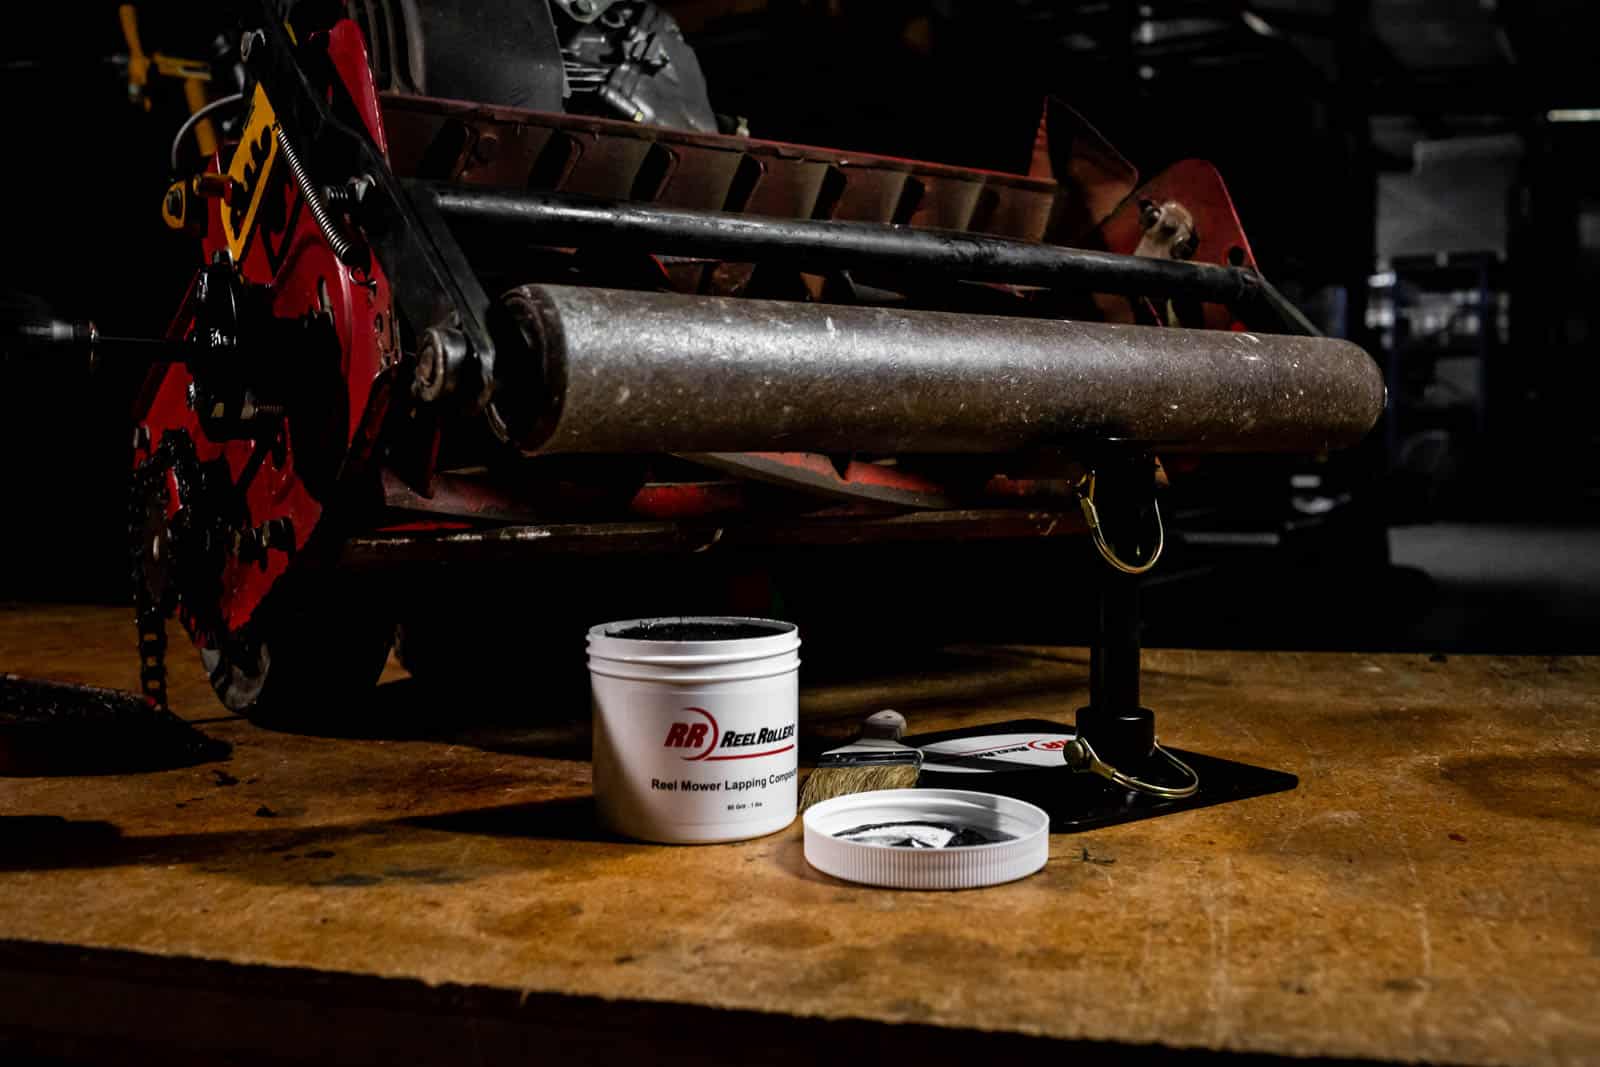
Backlapping is a maintenance technique for reel mowers that sharpens and fine-tunes the cutting blades. The process involves applying a specialized abrasive compound between the reel (the rotating cylinder with blades) and the bedknife (stationary blade). By manually or mechanically turning the reel backward, the blades come into contact with the backlapping compound, effectively grinding and honing the edges.
Here’s a step-by-step breakdown of the backlapping process:
Choose a backlapping compound designed specifically for reel mowers. These compounds typically consist of fine abrasives in a paste and come in a specific grit. The most common grit for backlapping is 80 grit, but some folks use 120 or even 240 grit. At Reel Rollers, we sell backlapping compound and backlap tools for McLane, California Trimmer, Tru Cut, Rolux, Revolution, John Deere, Toro, Jacobsen, Swardman, and Allett.
Ensure you shut the fuel off before backlapping your mower if your engine has a fuel shut-off lever. Never lay your mower back on its handlebars for an extended period. At Reel Rollers, we will not prop a reel mower up beyond 45 degrees because the oil and gas will become mixed if your engine is horizontal. This will result in the pull cord locking up and, in most cases, needing to replace all oil, gas, and air filters or spark plugs, depending on the severity.
Start by removing the chain or side belt cover to access the sprocket that drives the reel. Then, remove the reel chain or belt by first taking the tension off the chain. Next, identify the master link on the chain and remove the clip holding the master link in place with needle-nose pliers.
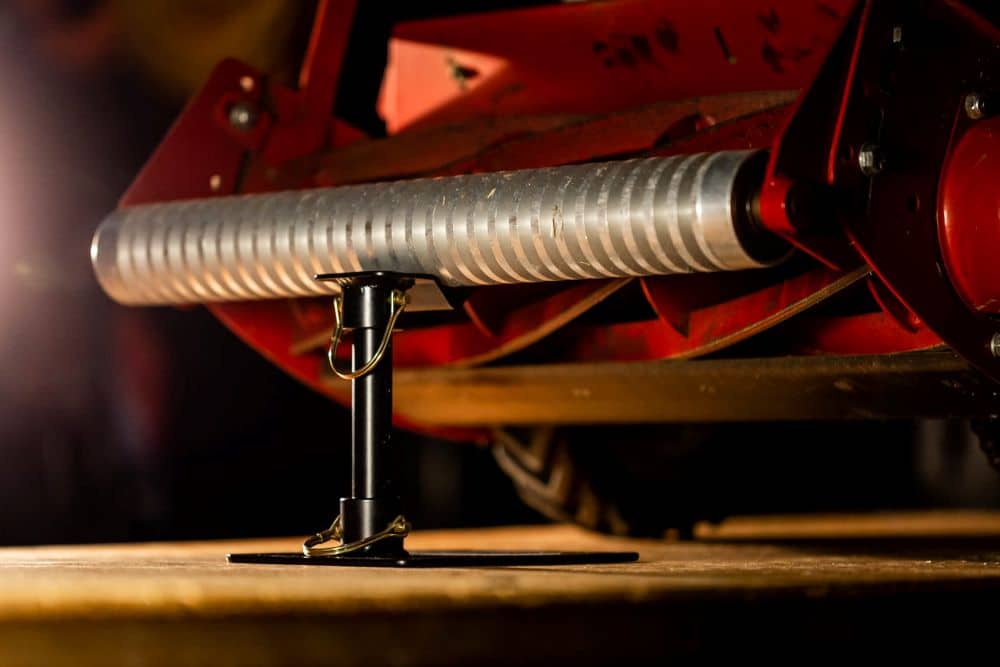
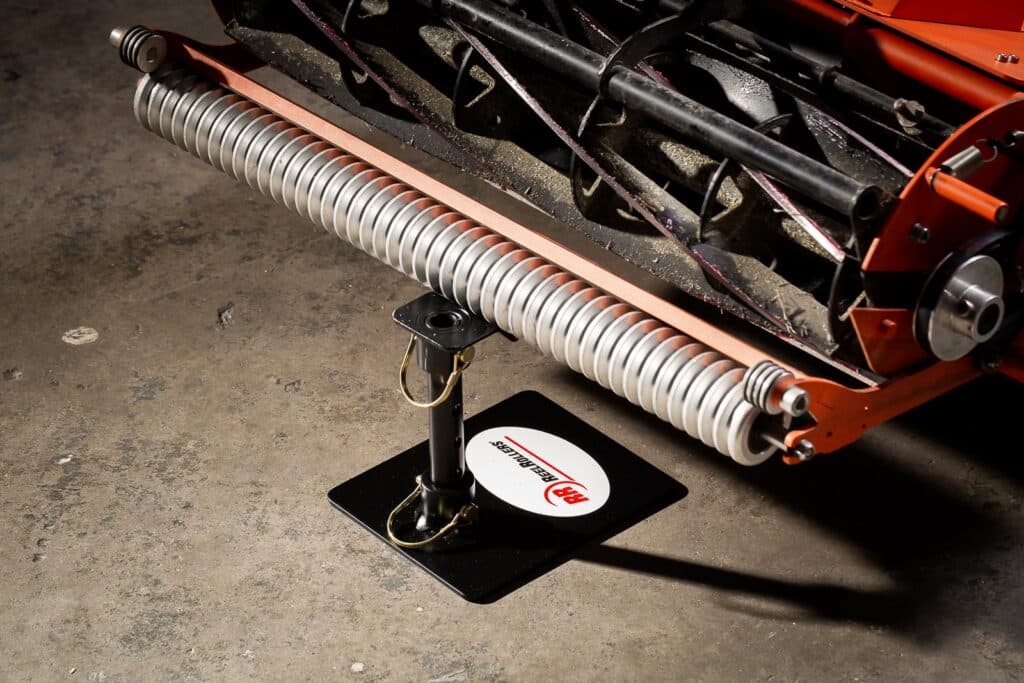
Next, prop the front of the mower up using blocks or the Sidekick Reel Mower Stand. Ensure you also block the back roller or wheels to prevent the mower from rolling. It is critical that you DO NOT prop the mower up past 45 degrees. Propping the mower up allows easier access to the reel and bedknife. We prop our mowers up only 3-5″ to make testing the reel to bedknife easier.
Each reel mower has its specific tolerances for setting the reel to bedknife. It is very important to have equal distance/contact between the reel and bedknife when backlapping to avoid coning of the reel. The reel should have only the slightest contact with the bedknife. At Reel Rollers, we backlap in five-minute intervals with an 80-grit compound.
Apply an abrasive compound (such as 80 grit) to the blades evenly with an applicator brush. Ensure coverage on all blades, including the corners.
If you own a McLane or California Trimmer, you can use one of our backlap tools to spin the sprocket on the end of the reel under the side chain cover. If you own a Rolux, Tru Cut, or Revolution mower, you need to spin the reel using a socket that fits over the nut on the end of the reel. For Allett and Swardman mowers, you need to contact the manufacturer because we are unaware of a backlapping tool that fits the pulley on the end of their reel.
Connect the socket or backlapping tool to a corded or battery-powered drill and rotate the blades backward, allowing the abrasive compound to sharpen the blades uniformly.
When you mow the lawn, your blades spin forward; to backlap, the blades need to go backward — the clue is in the name. You don’t need to spin the blade at high speed; that will only fling the compound into the air and over your mower. Go slow and steady so that the compound stays on the reel/bedknife, and apply moderate pressure to ensure even sharpening.
Observe the backlapping process to ensure the abrasive compound is evenly distributed across the blades and each blade makes contact with the bed knife.
The duration of backlapping can vary based on your reel mower’s specific requirements and the blades’ condition.
Clean off excess compound and debris from the blades and components using a hose.
Reassemble the reel mower components, ensuring proper alignment and tension of the chain. Use motor oil to lubricate the chain for smooth operation.
Loosen the bolts securing the reel and bed knife, allowing for adjustments. Use a fine-tuning approach to adjust the clearance between the reel and bed knife. Tighten the bolts gradually while testing the cut quality. Check for even contact between the blades and bed knife across the entire cutting width. Make adjustments as needed to achieve a clean and consistent cut.
Double-check all bolts and components for proper tightness and alignment. Conduct a test run on a small section of grass to ensure the mower is cutting cleanly and efficiently.
It’s important to note that backlapping is not a substitute for more comprehensive blade grinding or reel adjustment, which may be required periodically based on the mower’s usage and condition. Always refer to the manufacturer’s guidelines and recommendations for your reel mower model when performing maintenance tasks like backlapping.
https://youtu.be/2InFR8Lw0B8
Over time, contaminants and debris can accumulate in the fuel system, affecting performance. Regularly cleaning the fuel system components is crucial for preventing clogs and maintaining efficient fuel delivery to the engine.
Steps for Cleaning the Fuel System:
Regular maintenance of the fuel system components ensures your reel mower receives a consistent and clean fuel supply, promoting efficient combustion and overall engine performance.
Ensuring safety during the maintenance of your engine-powered reel mower is paramount. By adhering to proper safety practices, you protect yourself and contribute to the longevity and efficiency of your equipment.
To shield yourself from debris and potential hazards, wear appropriate clothing, including long pants, closed-toe shoes, and a long-sleeved shirt.
Wear safety glasses or goggles to protect your eyes from flying particles during maintenance tasks.
Always wear sturdy gloves when handling sharp or potentially hot components.
Gloves provide additional protection against cuts, abrasions, and chemical exposure. For more intricate tasks, wear thin latex gloves, like when changing the oil and testing the color and consistency of the old oil.
If your mower is particularly loud, consider using ear protection to safeguard your hearing during prolonged maintenance tasks.
Disconnect the spark plug wire before performing any maintenance tasks to prevent accidental starts. Ensure the disconnected wire is kept away from the spark plug to avoid unintentional reconnection.
For mowers equipped with batteries, disconnect the battery before working on electrical components. Store the battery in a safe location, away from moisture and extreme temperatures.
Familiarize yourself with any safety switches on your mower and ensure they are engaged or disengaged as required during maintenance.
By prioritizing safety gear, disconnecting power sources, and responsibly handling maintenance waste, you safeguard yourself and contribute to the overall well-being of your environment.
Maintaining an engine-powered reel mower requires a combination of precision, care, and safety considerations. From sharpening blades and changing oil to ensuring fuel system efficiency, each aspect contributes to the longevity and performance of your equipment.