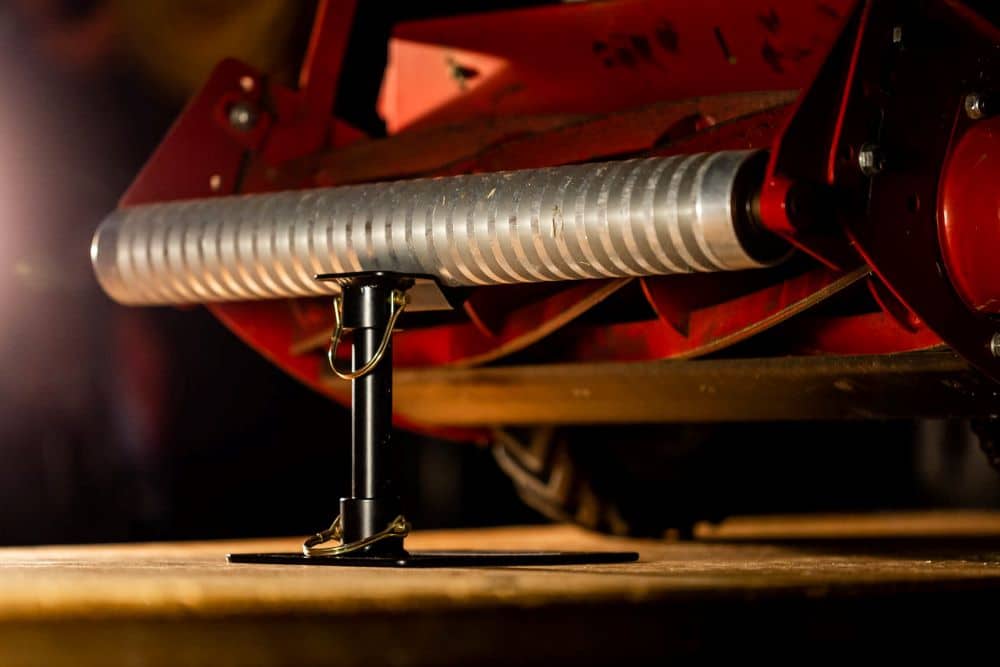
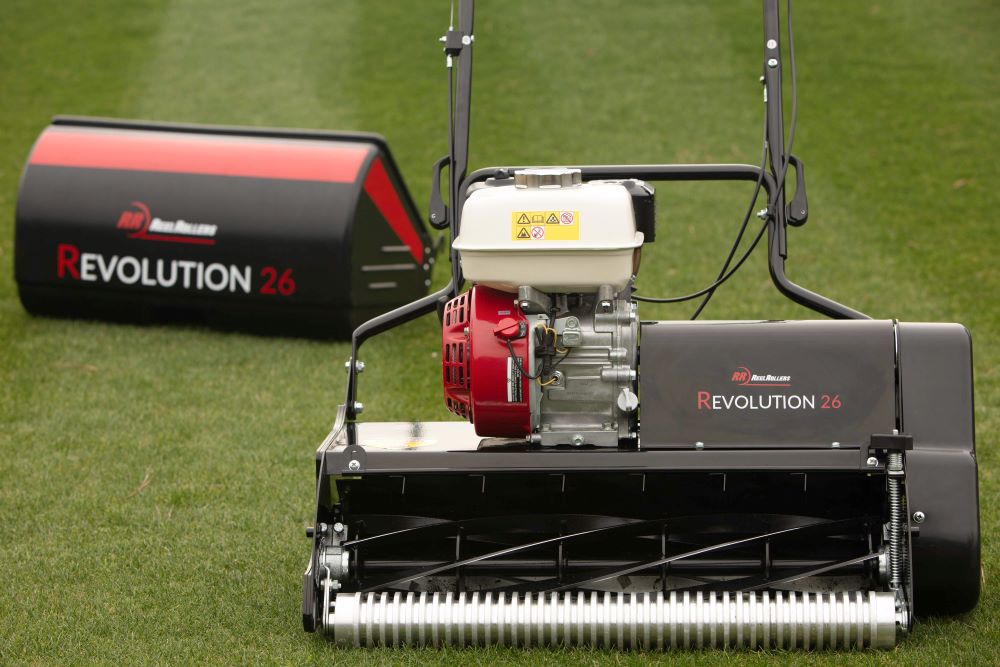
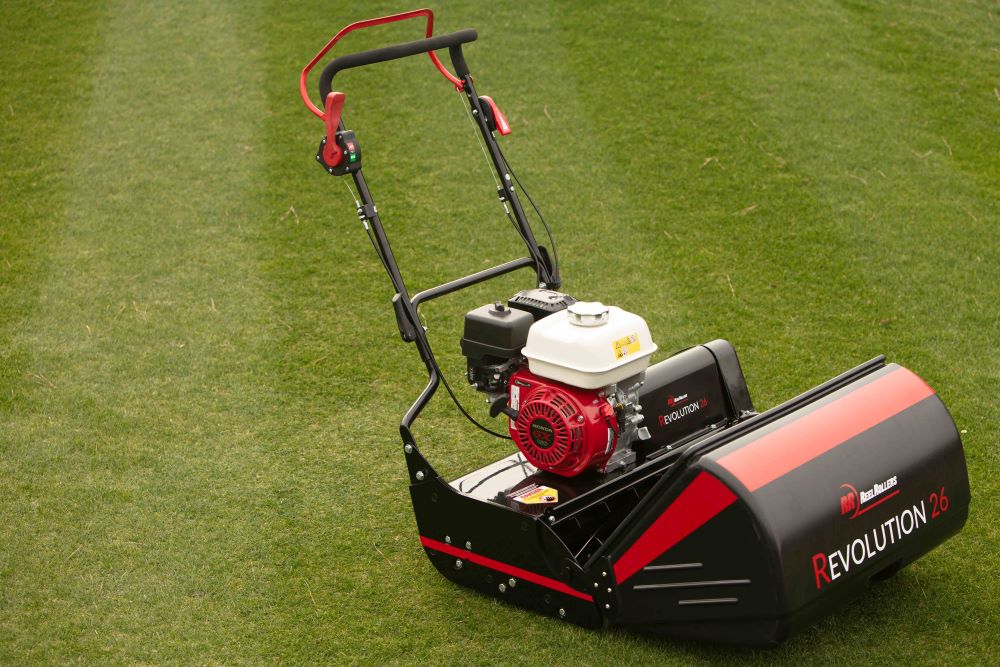
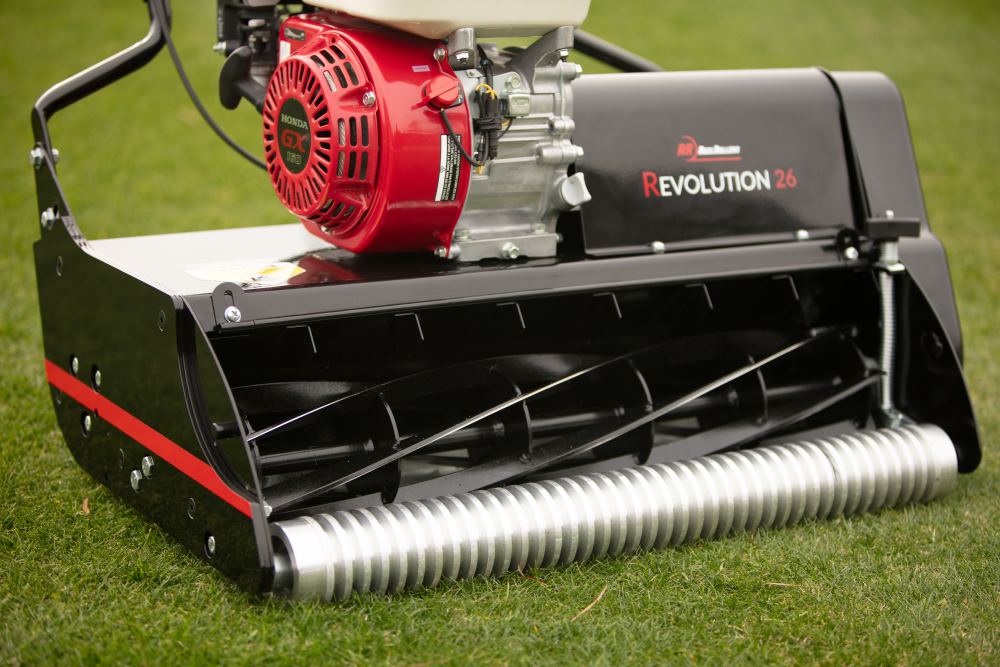
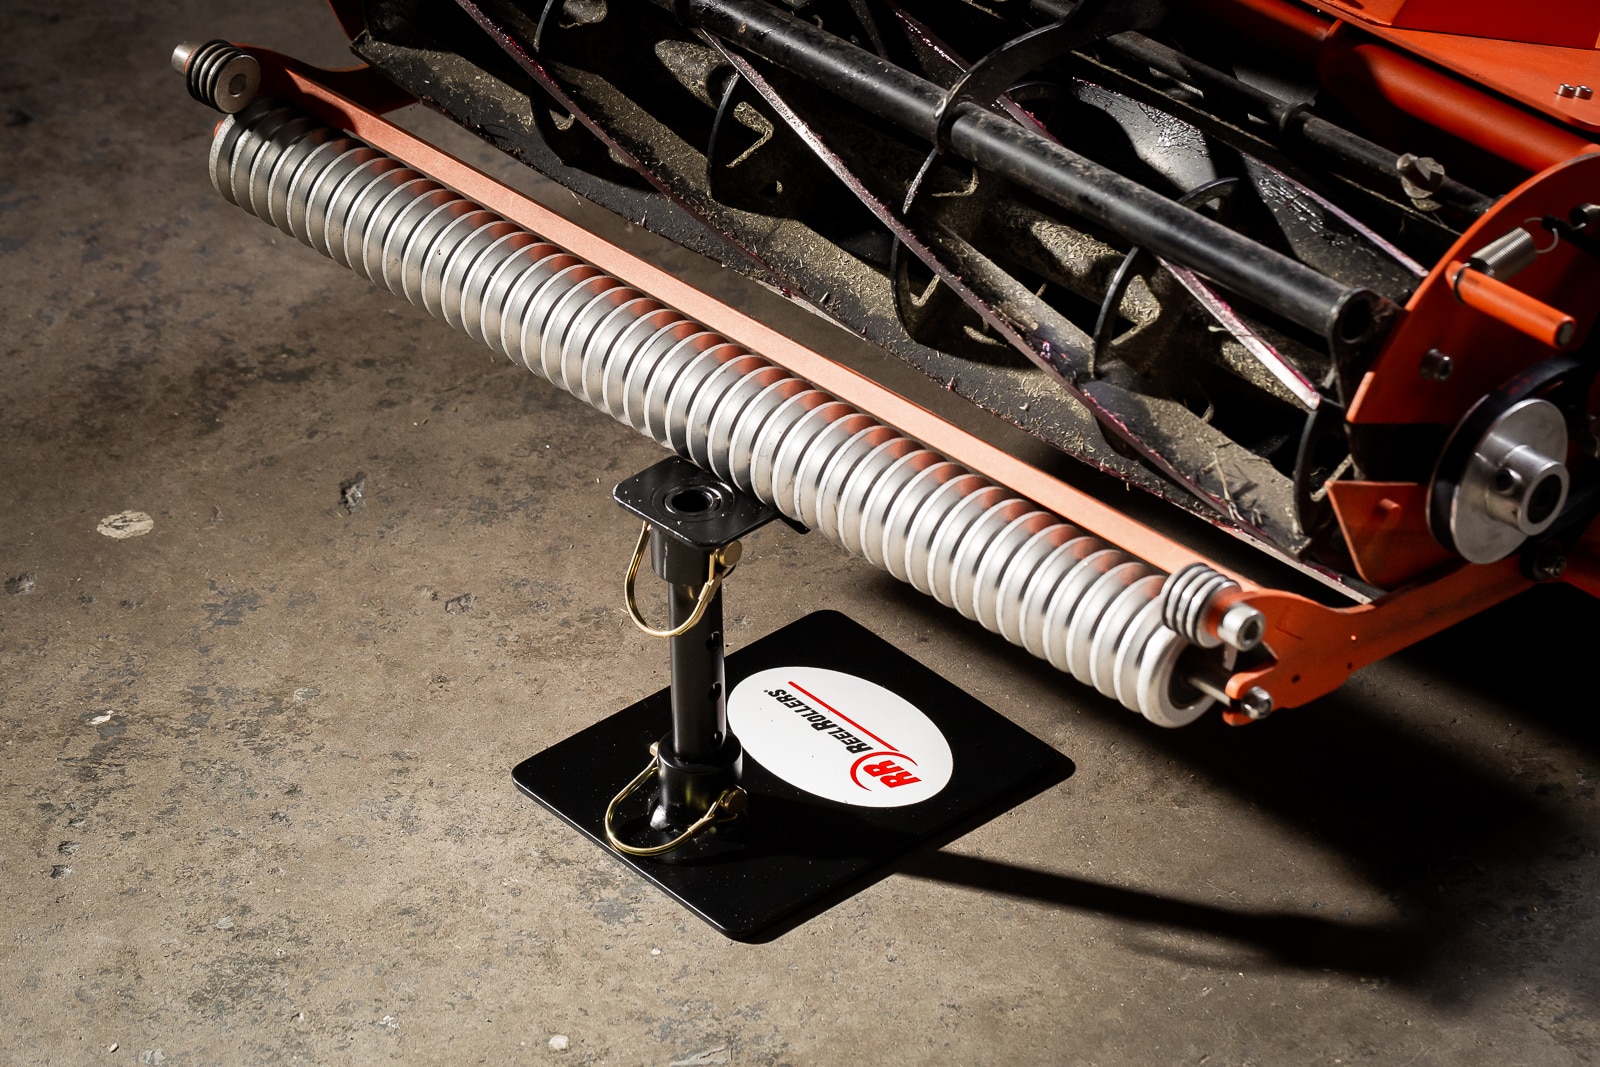
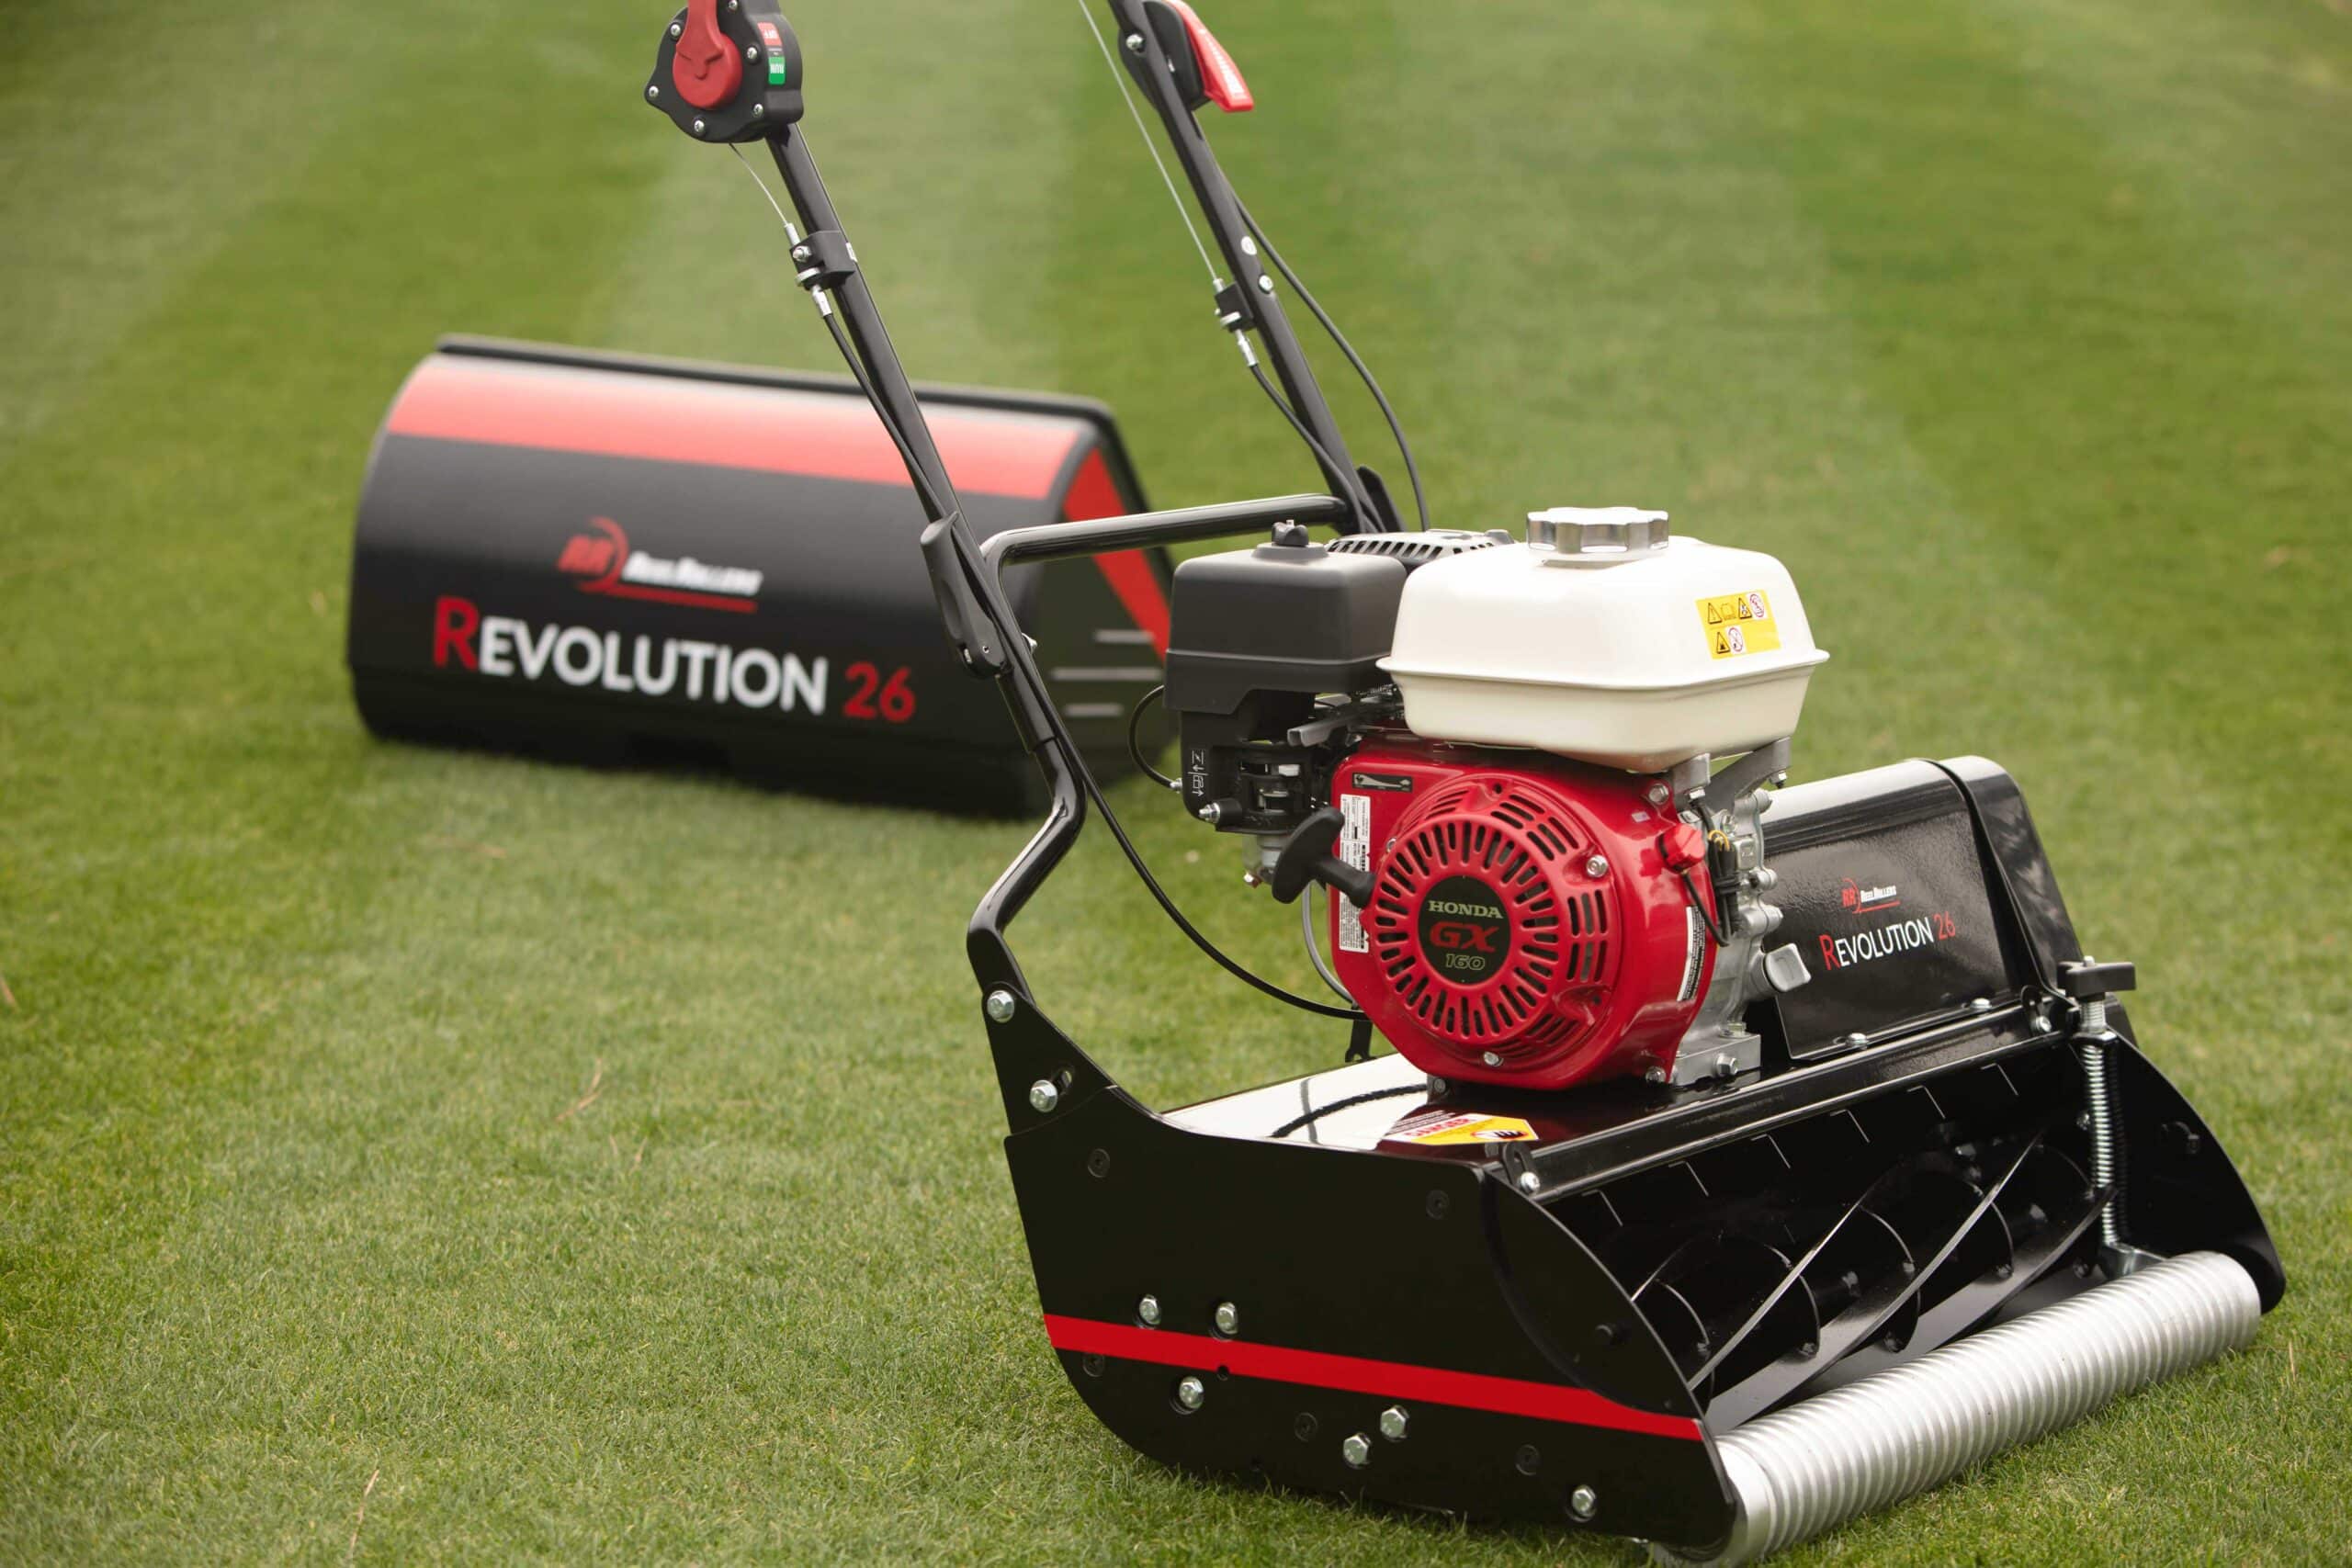
When you first buy a reel mower, chances are it will come with stock caster wheels. While there’s nothing wrong with them, they won’t give you that perfectly level, super shortcut, or those beautiful lawn stripes.
Continue readingHow to Change the Oil and Lubricate a Reel Mower
Proper lubrication is essential for keeping your gas-powered reel mower running smoothly and efficiently. Using the right oil helps prevent engine wear, ensures smoother operation, and extends the lifespan of your mower.
Continue readingWhy Choose a Reel Mower over a Rotary Mower?
When it comes to achieving a pristine, professional-quality lawn, the type of mower you choose can make all the difference. While rotary mowers dominate the market for their convenience and versatility, reel mowers offer a level of precision and cut that quality rotary models simply can’t match. Whether you’re a homeowner, a lawn care enthusiast, or someone striving for that golf-course-worthy finish, understanding the differences between reel and rotary mowers can help you make an informed choice.
Continue readingYearly Lawn Care Schedule: A Month-By-Month Guide for Your Lawn & Reel Mower
Maintaining a perfect lawn requires more than just the occasional mow — it’s a year-round commitment. The secret to achieving that carpet-like lawn isn’t just in how you mow, but when and how you care for both your grass and your reel mower.
Continue readingHow to Clean a Reel Mower: A Step-by-Step Guide
Proper cleaning is essential to keep your reel mower in top shape, ensuring smooth operation and prolonging the life of your equipment. Whether you own a Revolution reel mower from Reel Rollers, Tru Cut, California Trimmer, McLane, or Swardman, maintaining cleanliness prevents rust, keeps blades sharp, and helps avoid wear on moving parts.
Continue readingHow and When to Winterize a Reel Mower
Winterizing your reel mower is essential to ensure it remains in excellent condition and performs well in the next mowing season. Proper winterization helps prevent damage from cold weather, moisture, and inactivity. This guide will provide you with step-by-step instructions on how and when to winterize your mower effectively.
Continue readingRecommended Grass Mowing Heights Using a Reel Mower
Using an engine-powered reel mower offers unique advantages when mowing heights. Unlike rotary mowers, which can tear grass blades, reel mowers provide a clean, scissor-like cut. This allows you to maintain your lawn at shorter heights without compromising its health. Understanding the optimal mowing heights for different grass types will help you achieve a lush, healthy lawn while maximizing the benefits of your reel mower.
Continue readingEssential Maintenance for Your Reel Mower
Like any powerful tool, routine care of your reel mower is the secret to maintaining peak performance. We get it — you want your reel mower to roar, not whimper. That’s why we’re here to guide you through the essential maintenance rituals that will keep your reel mower not just cutting grass but making a statement on your lawn.
Reel Mower TLC
Prolonging the Lifespan of Your Reel Mower
Just as a well-crafted story improves with time, your mower evolves gracefully when given the care it deserves. Regular maintenance isn’t just a chore — it’s a commitment to extending the life of your reel mower. The precision-engineered components thrive when tended to.
Safety First: Mow with Confidence
Safety isn’t just a feature; it’s a cornerstone of the reel mower experience. Regular maintenance is pivotal in ensuring your mower operates safely. From checking vital components to ensuring secure connections, our maintenance rituals are designed to provide peace of mind.
Unleash the Maximum Potential
Why settle for good when you can have exceptional? Regular maintenance isn’t just about preventing breakdowns; it’s about unlocking your reel mower’s full potential. Our goal is to maximize efficiency and performance, starting with simple yet effective maintenance practices.
Basic Maintenance Steps
We understand the journey to a pristine lawn begins with the care you invest in your mower. Follow these essential maintenance steps to ensure your reel mower not only stands the test of time but continues to redefine your lawn care experience:
Checking and Changing the Oil
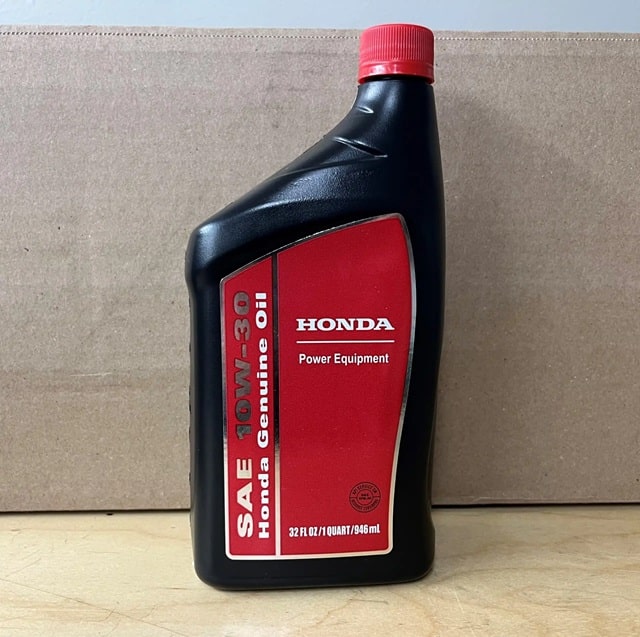
Oil is the lifeblood of your Reel Roller’s engine. Like any internal combustion engine, a reel mower’s engine consists of various moving parts that generate friction as they operate. Without proper lubrication, these parts would wear out quickly, leading to reduced efficiency, potential damage, and a shortened lifespan of the mower.
Oil serves several critical functions in the engine of a reel mower:
- Lubrication: Oil forms a protective layer between moving parts, reducing friction and minimizing wear.
- Heat dissipation: As the engine operates, it generates heat. The oil helps dissipate this heat, preventing the engine from overheating.
- Cleaning: Oil also cleans the engine by carrying away dirt, debris, and combustion by-products.
- Sealing: Oil provides a seal between the cylinder walls and the pistons, preventing leaks and maintaining the proper compression ratio.
A Step-by-Step Guide to Changing Oil on Your Reel Mower
Maintaining your reel mower involves periodic oil changes to ensure optimal performance and longevity. Follow these step-by-step instructions to effortlessly change the oil and keep your mower in top condition.
1. Determine the Frequency of Oil Changes
- Change the oil annually for regular home use.
- For heavy usage (40 hours a week or more), consider monthly oil changes.
- Check the oil by dipping a gloved finger into the tank; if it’s thick, dark, and dirty, it’s time for a change. Clean oil is thin, clear, and golden.
2. Choose the Right Oil
- You can opt for SAE 10w30 synthetic or petroleum oil for your mower, or you can check what the mower manufacturer recommends for your model.
- Disregard the manufacturer’s instructions and fill the engine right up to the brim.
3. Prepare for the Oil Change
- Wear thin rubber gloves to protect your hands during the process.
- Place a rag beneath the mower to catch any oil spills.
- Locate the drainage bolts on your mower.
- Remove the air filter for cleaning.
4. Drain the Old Oil
- Run the mower engine for around five minutes to warm up the oil.
- If the engine doesn’t start, add a couple of drops of gasoline into the carburetor, put the choke on, throttle up, and give it three pulls. This primes the engine, ensuring it starts properly.
- Remember to look away or wear goggles when pulling the starter cord. Turn off the engine once it has been running for around five minutes.
- Locate the oil drain bolt and use a draining tube (if needed) to direct the old oil into a waste pan.
- Tip the mower slightly to ensure complete drainage.
5. Refill with New Oil
- Once all the old oil is drained, use a funnel to refill the engine with new oil up to the brim. You may need an entire bottle of oil.
- Replace the cap securely.
Following these simple steps will keep your reel mower’s engine running smoothly, ensuring a beautifully manicured lawn every time you mow.
Changing The Air Filter
1. Role of the Air Filter in Engine Performance
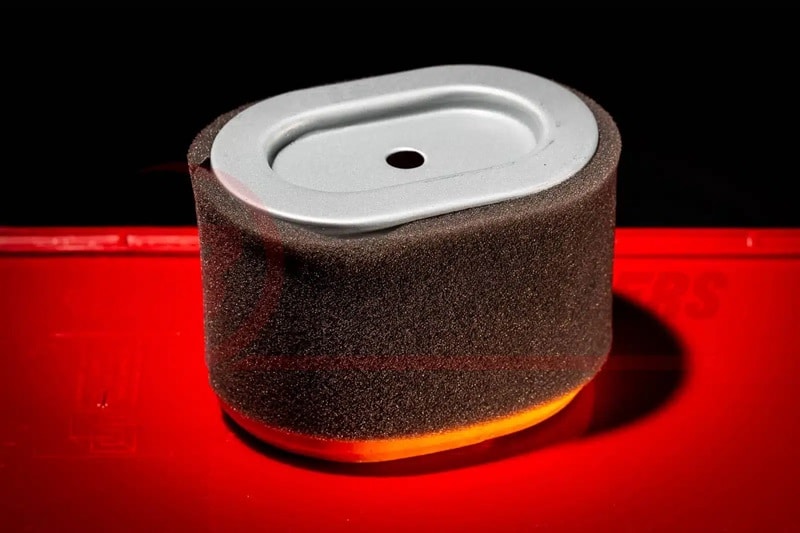
The air filter in your reel mower plays a pivotal role in maintaining engine performance. Think of it as the first line of defense, safeguarding the heart of your mower from harmful debris and contaminants.
As your mower operates, it draws in air for combustion, and the air filter ensures only clean, particle-free air reaches the engine. By preventing dirt, dust, and debris from entering the engine, the air filter promotes efficient combustion, optimal fuel-air mixture, and overall smoother operation.
2. Cleaning and Replacing the Air Filter
Cleaning:
Regular cleaning of the air filter is essential to ensure a constant flow of clean air to the engine. Follow these steps:
- Locate the air filter housing, usually positioned near the carburetor.
- Carefully remove the air filter cover or housing.
- Take out the air filter and inspect it for dirt and debris.
- If the filter is only mildly dirty, you can clean it by gently tapping it on a hard surface or using compressed air to blow out the contaminants.
- Ensure the air filter is completely dry before reinstalling it.
Replacing:
Over time, air filters can become worn or damaged, compromising their effectiveness. Replace the air filter if:
- It is excessively dirty or damaged.
- Cleaning no longer restores optimal airflow.
- You notice a significant decrease in engine performance.
To replace the air filter:
- Purchase a replacement filter compatible with your mower’s make and model.
- Open the air filter housing and remove the old filter.
- Install the new filter, ensuring it sits securely in the housing.
- Close the housing and secure it in place.
By keeping the air flowing freely to the engine, you ensure consistent performance and extend the life of your mower’s engine, contributing to a pristine lawn every time you mow.

A Step-by-Step Guide to Changing Oil on Your Reel Mower
Regularly inspecting and replacing the spark plug is crucial for maintaining a reliable and efficient reel mower engine. Here’s a step-by-step guide:
Tools and Materials:
- A new spark plug compatible with your mower’s specifications.
- Spark plug socket and wrench.
Replacement Steps:
- Disconnect the spark plug wire to prevent accidental starts during the replacement process.
- Identify the spark plug, typically positioned on the top or side of the engine. It will have a wire connected to it.
- Use a spark plug socket and wrench to loosen and remove the old spark plug.
- Inspect the old plug for signs of wear, fouling, or damage.
- Before installing the new spark plug, check the gap using a spark plug gap tool. Ensure it matches the specifications provided in your mower’s manual.
Install the New Spark Plug:
- Hand-thread the new spark plug into the socket to avoid cross-threading.
- Use the spark plug socket and wrench to tighten the plug to the recommended torque.
- Ensure the wire is securely connected to the new spark plug.
- Start the mower to check for smooth operation. If needed, make further adjustments to the spark plug gap.
Follow the manufacturer’s guidelines for spark plug replacement intervals, and you’ll keep your reel mower running smoothly season after season.
Backlapping the Blades
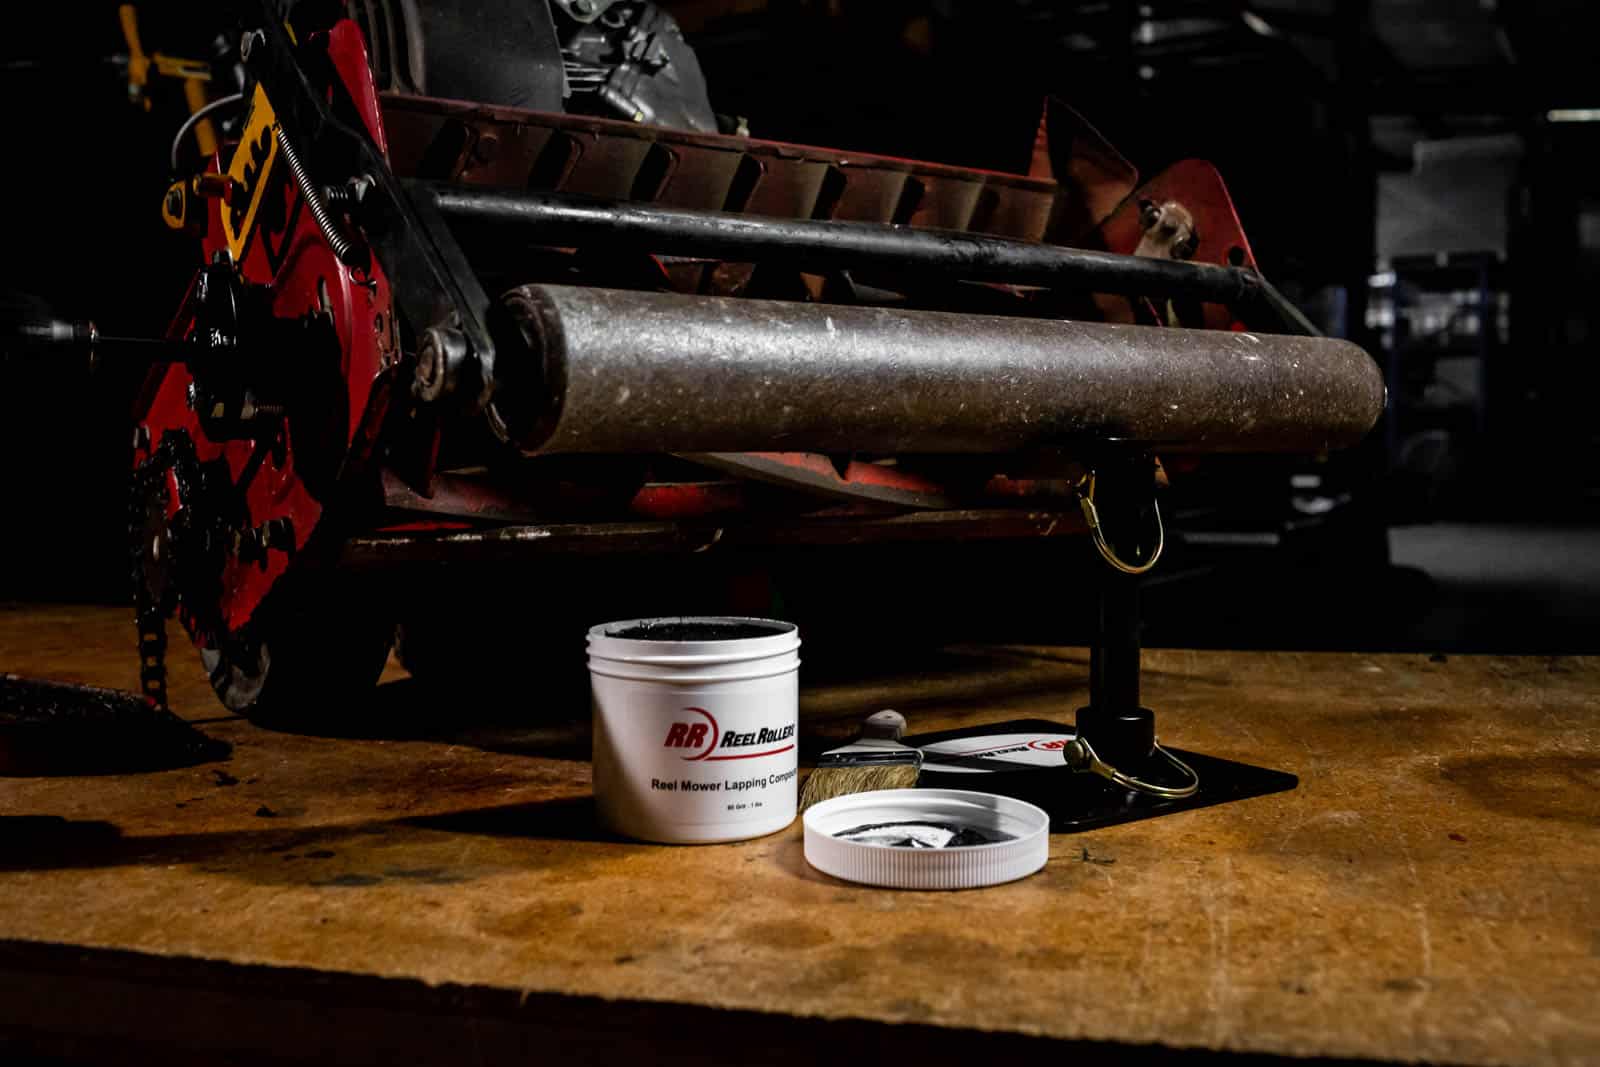
Backlapping is a maintenance technique for reel mowers that sharpens and fine-tunes the cutting blades. The process involves applying a specialized abrasive compound between the reel (the rotating cylinder with blades) and the bedknife (stationary blade). By manually or mechanically turning the reel backward, the blades come into contact with the backlapping compound, effectively grinding and honing the edges.
Here’s a step-by-step breakdown of the backlapping process:
1. Selecting the Abrasive Compound
Choose a backlapping compound designed specifically for reel mowers. These compounds typically consist of fine abrasives in a paste and come in a specific grit. The most common grit for backlapping is 80 grit, but some folks use 120 or even 240 grit. At Reel Rollers, we sell backlapping compound and backlap tools for McLane, California Trimmer, Tru Cut, Rolux, Revolution, John Deere, Toro, Jacobsen, Swardman, and Allett.
2. Shut Off The Fuel
Ensure you shut the fuel off before backlapping your mower if your engine has a fuel shut-off lever. Never lay your mower back on its handlebars for an extended period. At Reel Rollers, we will not prop a reel mower up beyond 45 degrees because the oil and gas will become mixed if your engine is horizontal. This will result in the pull cord locking up and, in most cases, needing to replace all oil, gas, and air filters or spark plugs, depending on the severity.
3. Disassembly
Start by removing the chain or side belt cover to access the sprocket that drives the reel. Then, remove the reel chain or belt by first taking the tension off the chain. Next, identify the master link on the chain and remove the clip holding the master link in place with needle-nose pliers.
4. Securing the Mower
5. Setting the Reel to Bedknife
Each reel mower has its specific tolerances for setting the reel to bedknife. It is very important to have equal distance/contact between the reel and bedknife when backlapping to avoid coning of the reel. The reel should have only the slightest contact with the bedknife. At Reel Rollers, we backlap in five-minute intervals with an 80-grit compound.
6. Applying the Compound
Apply an abrasive compound (such as 80 grit) to the blades evenly with an applicator brush. Ensure coverage on all blades, including the corners.
7. Rotating the Reel
If you own a McLane or California Trimmer, you can use one of our backlap tools to spin the sprocket on the end of the reel under the side chain cover. If you own a Rolux, Tru Cut, or Revolution mower, you need to spin the reel using a socket that fits over the nut on the end of the reel. For Allett and Swardman mowers, you need to contact the manufacturer because we are unaware of a backlapping tool that fits the pulley on the end of their reel.
Connect the socket or backlapping tool to a corded or battery-powered drill and rotate the blades backward, allowing the abrasive compound to sharpen the blades uniformly.
When you mow the lawn, your blades spin forward; to backlap, the blades need to go backward — the clue is in the name. You don’t need to spin the blade at high speed; that will only fling the compound into the air and over your mower. Go slow and steady so that the compound stays on the reel/bedknife, and apply moderate pressure to ensure even sharpening.
8. Monitoring the Process
Observe the backlapping process to ensure the abrasive compound is evenly distributed across the blades and each blade makes contact with the bed knife.
9. Duration of Backlapping
The duration of backlapping can vary based on your reel mower’s specific requirements and the blades’ condition.
10. Reassembly
Clean off excess compound and debris from the blades and components using a hose.
Reassemble the reel mower components, ensuring proper alignment and tension of the chain. Use motor oil to lubricate the chain for smooth operation.
11. Adjusting Reel-to-Bedknife Clearance
Loosen the bolts securing the reel and bed knife, allowing for adjustments. Use a fine-tuning approach to adjust the clearance between the reel and bed knife. Tighten the bolts gradually while testing the cut quality. Check for even contact between the blades and bed knife across the entire cutting width. Make adjustments as needed to achieve a clean and consistent cut.
12. Final Checks
Double-check all bolts and components for proper tightness and alignment. Conduct a test run on a small section of grass to ensure the mower is cutting cleanly and efficiently.
Benefits of Backlapping
- Sharpens blades: The abrasive compound effectively sharpens the cutting edges of the reel blades, enhancing cutting performance.
- Ensures even cutting: By smoothing out any nicks or irregularities on the blade edges, backlapping helps achieve a more even and consistent cut across the entire width of the mower.
- Extends blade life: Regular backlapping can extend the lifespan of the cutting blades by reducing wear and preventing the blades from becoming excessively dull.
It’s important to note that backlapping is not a substitute for more comprehensive blade grinding or reel adjustment, which may be required periodically based on the mower’s usage and condition. Always refer to the manufacturer’s guidelines and recommendations for your reel mower model when performing maintenance tasks like backlapping.
Cleaning the Fuel System Components
Over time, contaminants and debris can accumulate in the fuel system, affecting performance. Regularly cleaning the fuel system components is crucial for preventing clogs and maintaining efficient fuel delivery to the engine.
Steps for Cleaning the Fuel System:
- Disconnect the spark plug wire before any fuel system maintenance to prevent accidental starts.
- Run the mower until the fuel tank is nearly empty, or use a hand pump to remove excess fuel.
- If your mower has a fuel filter, remove it and clean it thoroughly. Replace the filter if it is excessively dirty or damaged.
- Check the fuel lines for any signs of cracks or damage. Replace any compromised fuel lines to maintain proper fuel flow.
- If your mower’s carburetor is accessible, consider cleaning it using a carburetor cleaner. Follow the manufacturer’s guidelines for the specific product you need.
Regular maintenance of the fuel system components ensures your reel mower receives a consistent and clean fuel supply, promoting efficient combustion and overall engine performance.
Safety Tips for Maintenance
Ensuring safety during the maintenance of your engine-powered reel mower is paramount. By adhering to proper safety practices, you protect yourself and contribute to the longevity and efficiency of your equipment.
Importance of Safety Gear
1. Protective Clothing
To shield yourself from debris and potential hazards, wear appropriate clothing, including long pants, closed-toe shoes, and a long-sleeved shirt.
Wear safety glasses or goggles to protect your eyes from flying particles during maintenance tasks.
2. Gloves
Always wear sturdy gloves when handling sharp or potentially hot components.
Gloves provide additional protection against cuts, abrasions, and chemical exposure. For more intricate tasks, wear thin latex gloves, like when changing the oil and testing the color and consistency of the old oil.
3. Hearing Protection
If your mower is particularly loud, consider using ear protection to safeguard your hearing during prolonged maintenance tasks.
Disconnecting Power Sources before Maintenance
1. Spark Plug Disconnection
Disconnect the spark plug wire before performing any maintenance tasks to prevent accidental starts. Ensure the disconnected wire is kept away from the spark plug to avoid unintentional reconnection.
2. Battery Removal (If Applicable)
For mowers equipped with batteries, disconnect the battery before working on electrical components. Store the battery in a safe location, away from moisture and extreme temperatures.
3. Safety Switches
Familiarize yourself with any safety switches on your mower and ensure they are engaged or disengaged as required during maintenance.
Proper Handling and Disposal of Maintenance Waste
1. Oil Disposal
- Dispose of used oil following local regulations. Many areas have recycling facilities that accept used oil for proper disposal.
- Avoid dumping oil into the environment, as it can harm soil and water.
2. Fuel Handling
- Store fuel in approved containers designed for gasoline storage.
- Use caution when refueling, ensuring the mower is in a well-ventilated area and the engine is cool.
3. Waste Disposal
- Dispose of any maintenance waste, such as old filters or worn-out parts, following local waste disposal guidelines.
- Recycle materials whenever possible to reduce environmental impact.
By prioritizing safety gear, disconnecting power sources, and responsibly handling maintenance waste, you safeguard yourself and contribute to the overall well-being of your environment.
Maintaining an engine-powered reel mower requires a combination of precision, care, and safety considerations. From sharpening blades and changing oil to ensuring fuel system efficiency, each aspect contributes to the longevity and performance of your equipment.
Lawn Scalping with a Reel Mower: A Step-by-Step Guide
Lawn scalping is crucial in revitalizing your lawn, especially when dealing with dead grass and thatch. In this guide, we will walk you through the process of lawn scalping using a reel mower. This method helps establish a new cutting height for the season, exposes the soil to the sun for early green-up, and sets the stage for dense new growth.
What Is Lawn Scalping?
Scalping, in layman’s terms, is getting your mower as close to the dirt as possible. It involves lowering the mower blades to the lowest setting without hitting the soil. Cutting low lets the sunshine in, and warm-season grass loves that. This process opens up the soil and turf to warmer temperatures, providing the necessary conditions for grass to wake up from its winter dormancy and start thriving.
Best Time to Scalp
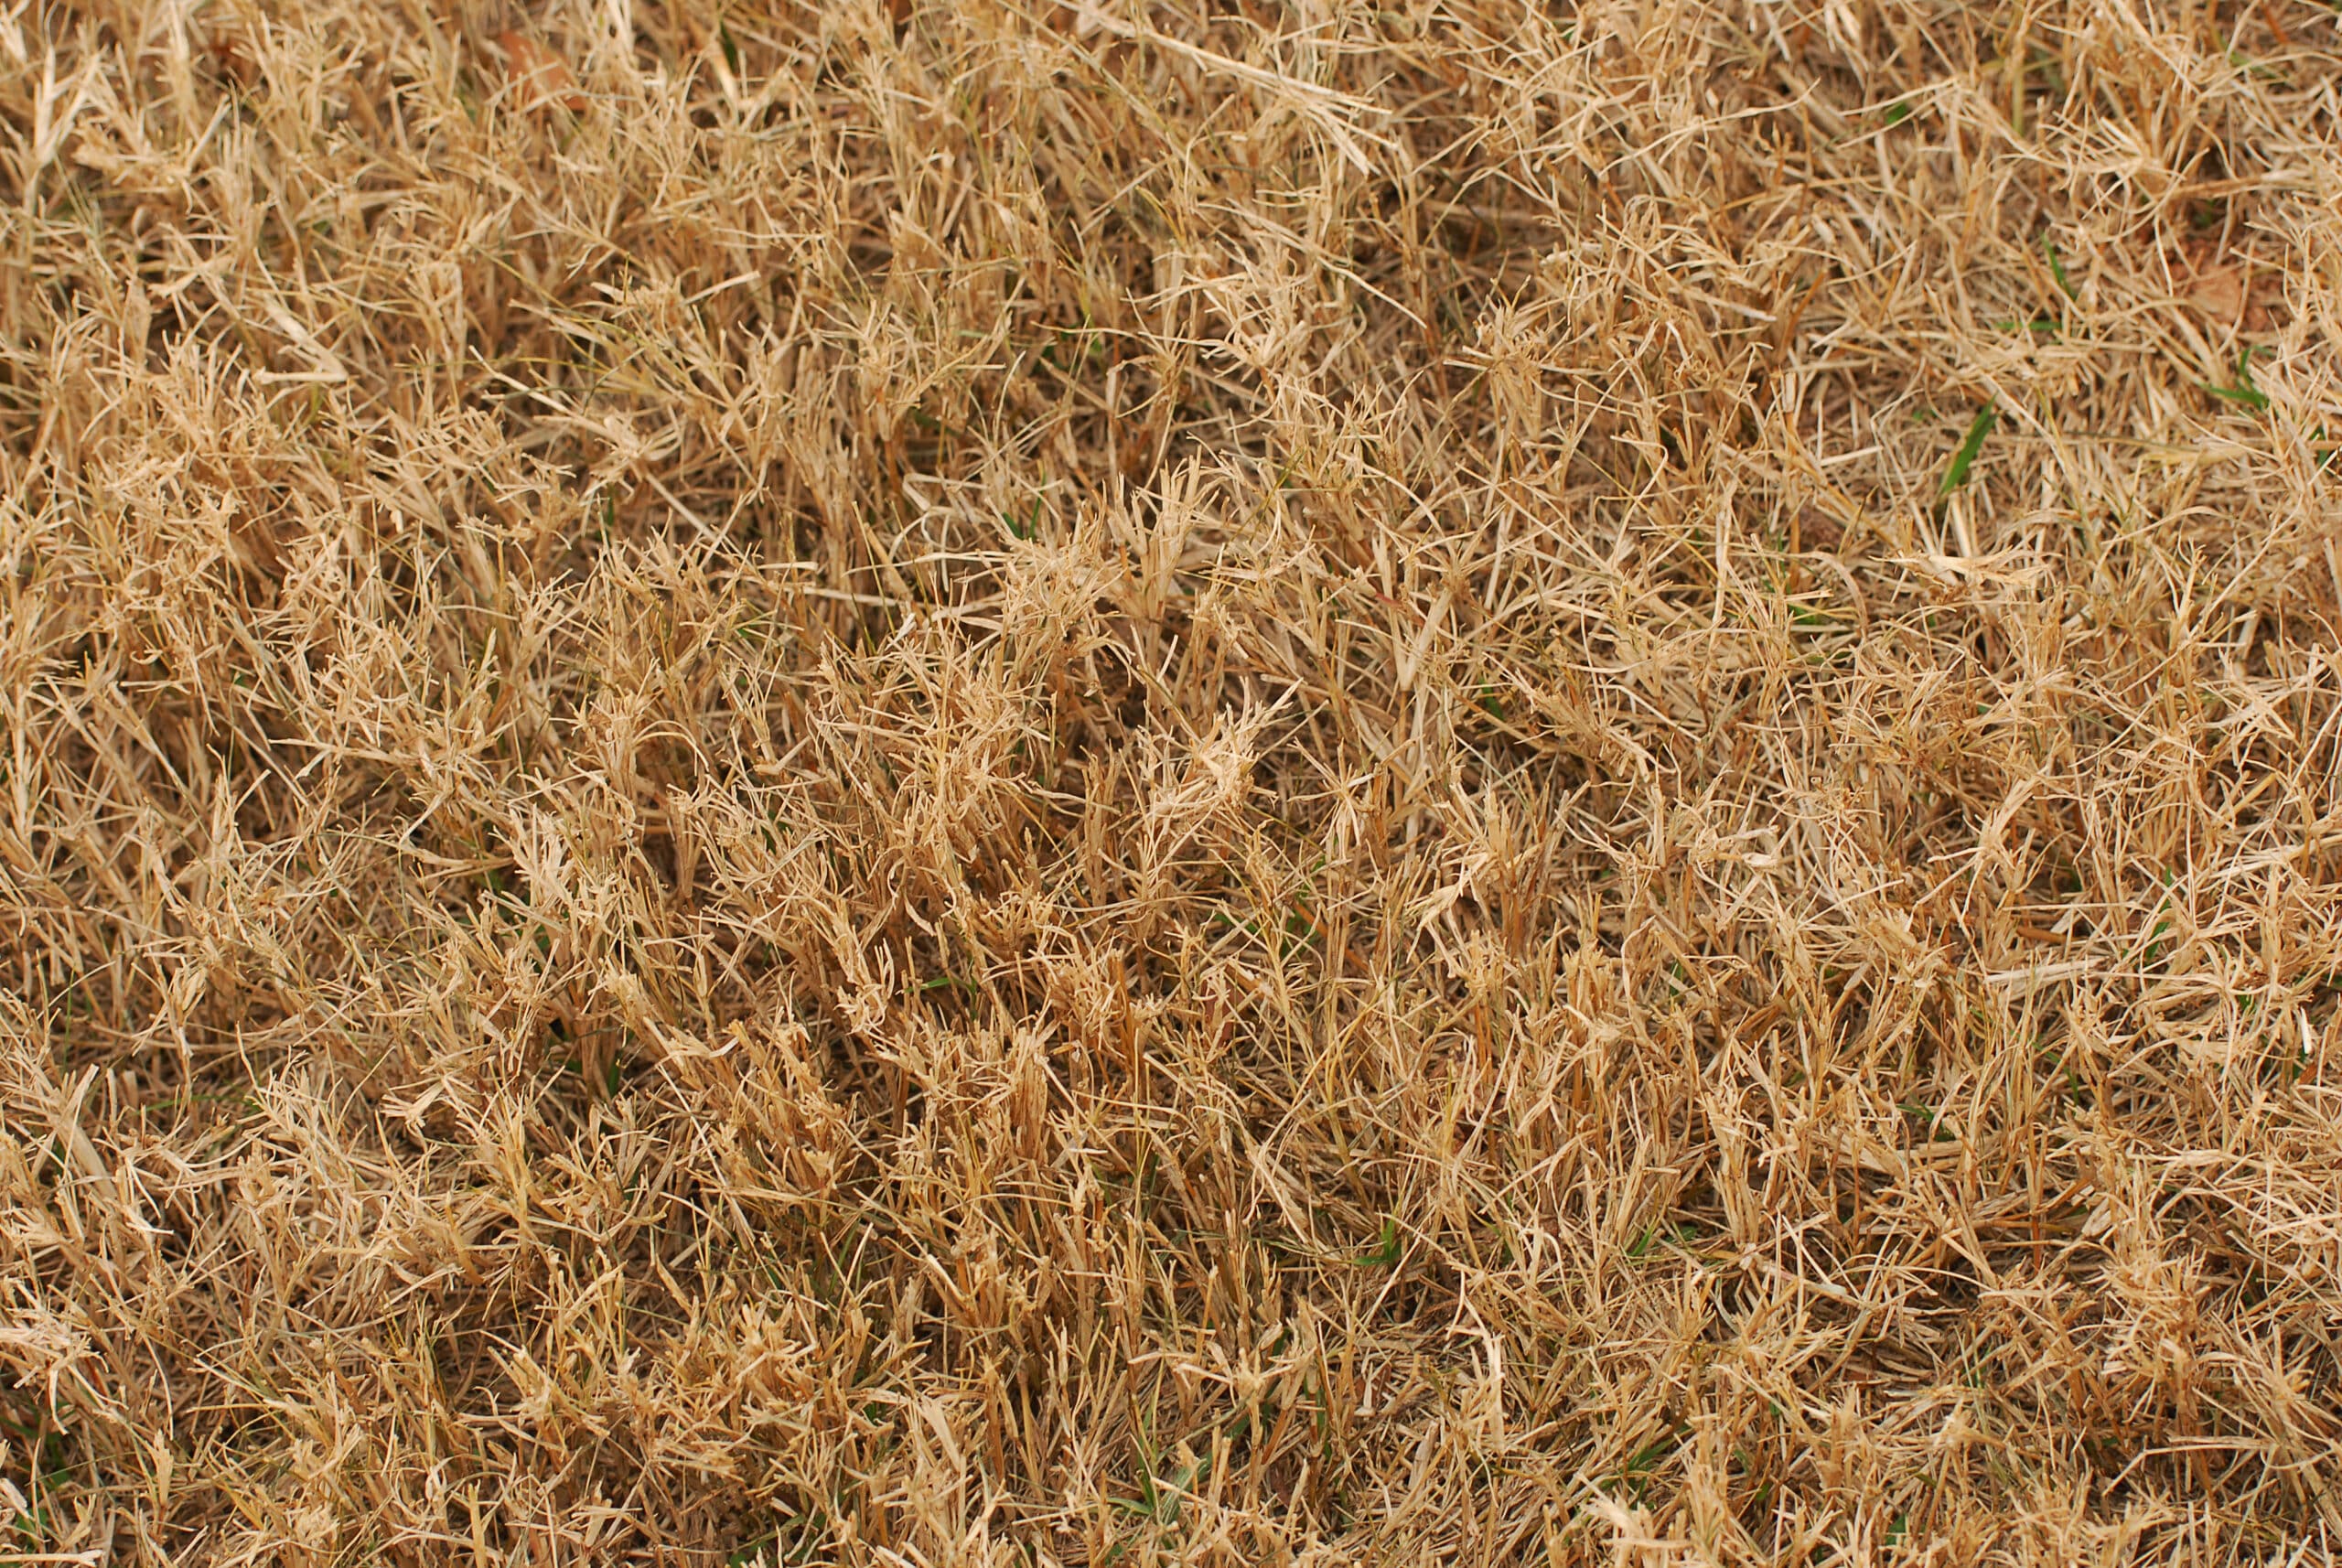
The perfect moment to scalp your lawn depends on your local climate. If the temperatures are climbing faster than a squirrel up a tree, then it’s time to consider firing up the mower. Typically, scalping is a practice for warm-season grasses that go into dormancy over the winter. Ideally, scalping your lawn takes place prior to the grass showing green. For most, this is during the months of February to April. Scalping your lawn prior to February exposes the roots to potential damage if you have a multi-day hard freeze — but most folks who have warm-season grasses rarely get freezes long enough to damage the roots.
In transition zones or northern parts where the last frost or freeze date is still a few weeks away, patience is crucial. The dormant grass is your lawn’s winter armor, shielding it from those late-season frosts or freezes. Cut that protective layer too soon, and you’re leaving your soil exposed to Mother Nature’s icy temper.
Aim to scalp the lawn on a dry and non-windy day. Wet dormant grass adds another layer of challenge when mowing and will just prolong the process of clipping off the dormant grass.
Weed Prevention
When it comes out of dormancy, a scalped lawn promotes lower, denser grass that squeezes out many weeds trying to grow. So, let your grass do its job, and you’ll spend less time battling weeds and more time enjoying your lawn.
Preparing Your Mower for Scalping
Understanding the Sacrifice
Scalping isn’t for the faint of heart, especially regarding your mower blades. Embrace the fact that hitting the dirt at lower mowing levels is necessary, but if you are plowing the soil, you should raise your height of scalping to a level where you are close to the soil but only dipping into it a few spots across the whole yard where it may be unlevel. Your blades will get a battering, so there is no point in putting new ones on or backlapping until after the scalp.
If you’ve got some seasoned blades that have seen more lawns than a retired landscaper, consider them your sacrificial lambs for the scalp. Save the shiny, new blades for the regular mowing duties and let the veterans handle the dirty work.
Pro Tip: Lubrication as a Preventive Measure
Lubricating the reel with vegetable oil before scalping minimizes wear on the reel bearings and components, reducing heat and potential damage to the blade, especially when mowing brown grass with reduced moisture content.
Step-by-Step Guide to Scalping Your Lawn
Step 1: Set the Mower Height
The recommended cutting height for scalping with a reel mower varies from lawn to lawn, depending on how smooth the lawn is. The goal is to scalp down 1/4″ to 1/2″ below where you want to maintain the turf throughout the season. Set it at 3/4″, and if you are far from hitting the soil on your first pass, drop it down another 1/4″ until you are as low as you can go without plowing dirt.
Different grass types have varying optimal cutting heights. Research the specific type of grass in your lawn and set the mower height accordingly. For example, warm-season grasses like Bermuda or zoysia have lower cutting height requirements than cool-season grasses like Kentucky bluegrass or fescue.
Pro Tip: If your lawn is significantly overgrown, consider gradually lowering the cutting height in multiple passes rather than making a drastic change in a single mowing session. This can help prevent stress to the mower (and you!) and allow for a more controlled scalping process.
Step 2: Check Your Lawn and Remove Debris
Before mowing the entire lawn, check your reel-to-bedknife contact. For scalping, you want the reel to have little to no contact with the bedknife. During the green season in mowing, you want the reel to bedknife to cut paper.
Remove debris like sticks, leaves, or large rocks from the lawn. This will prevent damage to your mower and ensure an even cut. Equip yourself with a sturdy lawn rake to gather and remove larger debris. Raking also helps lift the grass blades, making it easier for the reel mower to cut at an even height.
Step 3: Bag or Collect Debris
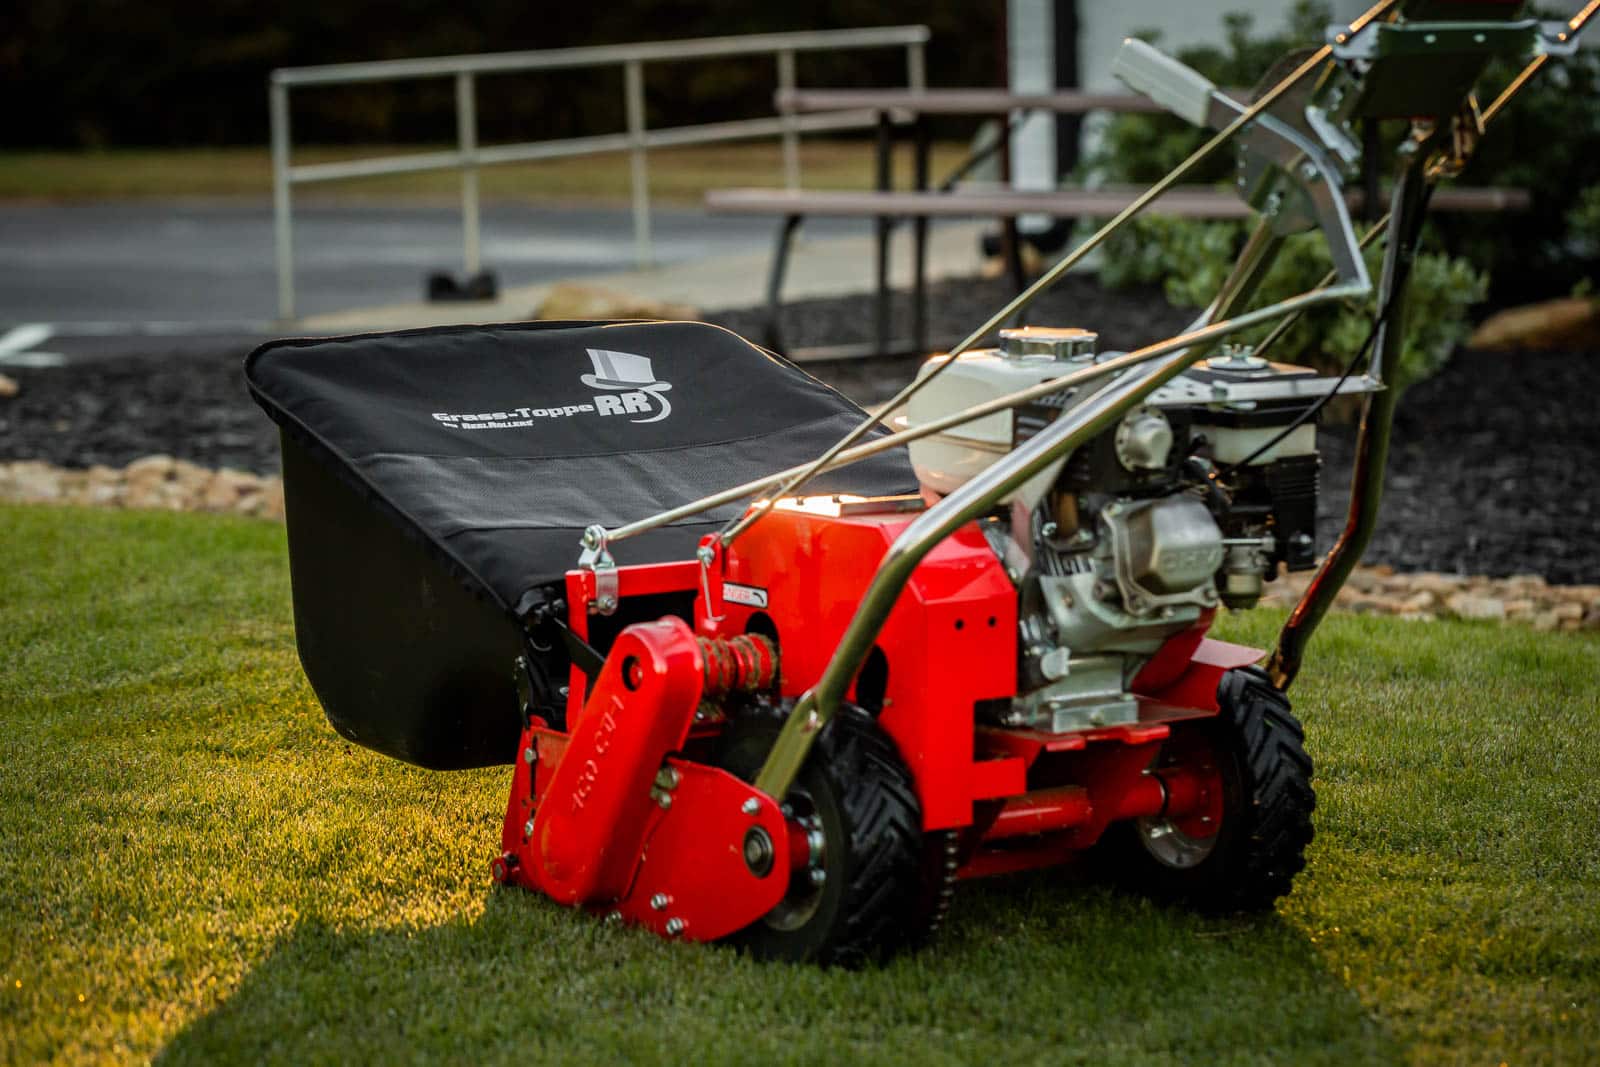
Attach a catcher or the Reel Rollers Grass Topper to collect the debris as you mow. The Grass Topper will collect up the grass without letting it blow everywhere. This helps prevent thatch buildup and keeps your lawn looking tidy.
Step 4: Cut Overgrown Areas with a Rotary Mower
If you come across areas with significantly overgrown grass or uneven growth and you have a rotary mower, a way to save time and effort is to cut your dormant grass as low as your rotary mower will go. This will suck up debris from the lawn and cut the reel mowing work in half. Reel mowers are designed for use on short turf, so they won’t be the best at getting really long grass cut down to size.
Step 5: Mow the Lawn
Start with a Full Tank
Before you begin mowing, ensure that the gas-powered reel mower has a full fuel tank. This prevents interruptions during scalping, allowing for continuous and efficient mowing.
Adjust Your Mowing Pattern
Choose a mowing pattern that ensures complete coverage of the lawn. Overlapping each pass slightly helps avoid missed areas and ensures an even scalping.
Begin Mowing
Start mowing your lawn, moving the reel mower slowly and deliberately. Remember to overlap each pass slightly to ensure complete coverage. Having a front roller from Reel Rollers on your mower will help level the ground and prevent scalping from being too harsh
Maintain a Consistent Speed
Keep a consistent speed while mowing to achieve an even cut across the entire lawn. Avoid rushing, as this can lead to uneven scalping and potential damage to the grass.
Empty the Grass Topper or Collection Bag
Monitor your grass catcher regularly and empty it as needed to prevent it from becoming too heavy and affecting the mower’s performance. Additionally, emptying the catcher keeps the lawn neat and prevents thatch buildup.
Extra Passes for Overgrown Areas
When encountering areas with significantly overgrown grass or uneven growth, consider making additional passes and slowing down your ground speed when you encounter higher grass.
Follow Safety Guidelines
Adhere to safety guidelines for operating your reel mower. This includes wearing appropriate safety gear, keeping hands and feet away from the mower blades, and following any specific safety instructions provided.
Take Breaks as Needed
If you have a large lawn, consider taking breaks as needed to avoid fatigue. Staying physically alert during the mowing process ensures better control and precision.
Complete the Entire Lawn
Continue mowing until the entire lawn is scalped. A thorough and complete scalping promotes uniform growth and helps achieve the desired benefits, such as thatch removal and enhanced sunlight exposure.
Step 5: Do A Soil Test and Fertilize Your Lawn (Optional)
After scalping, the best practice is to obtain a soil test to see if your lawn is nutrient-deficient or needs the pH raised or lowered. Soil test results take two to three weeks, and you should apply the recommended nutrients the moment you see green grass starting to push up. If you don’t have a soil test, now would be a good time to throw a good balanced fertilizer of 10-10-10 or 13-13-13 onto the turf to help feed future growth.
Post-Scalping Mower Maintenance

Book Your Mower in For Maintenance
Following a scalp in February or early March, schedule blade sharpening and any necessary repairs in April before the first mow of the season. This ensures your mower is in optimal condition for the upcoming challenges.
DIY Maintenance
For those who prefer hands-on maintenance, post-scalping tasks include backlapping blades, checking belts, chains, and screws, and replacing the spark plug, air filter, and oil to ensure your mower is ready for the mowing season. Our engine service kits include all the items you need to prep your reel mower.
Lawn scalping with a reel mower is a critical step in lawn preparation, helping to prepare the ground for optimal grass growth. By following these steps and utilizing the right equipment, you can achieve a well-prepared lawn that is ready for the next stages of lawn domination. Remember to assess the results and plan for additional steps, such as leveling and adding topsoil for a comprehensive lawn improvement.
Cutting Grass with a Reel Mower: The Ultimate Guide
Gas-powered reel mowers are mechanical lawn maintenance tools that use a series of rotating blades to cut grass. Unlike traditional rotary mowers, reel mowers provide a cleaner, scissor-like cut, promoting healthier turf.
Now, why choose reel mowing over the old rotary method? Simple. If you’re aiming for that lawn so smooth it’d make a putting green jealous, you need a reel mower in your arsenal. We’re talking precision cutting below one inch. That means healthier grass, fewer bugs, and less chance of those pesky diseases taking hold.
Ever wanted your lawn to look like a professional sports field? With a reel mower, you can achieve those envy-inducing stripes that scream, “Yep, I’m the king of the block.” It’s all thanks to the reel mower, working its magic to give your lawn that professional finish. And by giving your lawn a clean, even cut, reel mowing encourages stronger, more robust growth.
Trust us, once you go reel, you’ll never look back.
Importance of Proper Grass-Cutting Techniques
Grass Health
Reel mowers use a scissor-like cutting action. This clean-cutting technique results in a much healthier lawn because the recovery from mowing is minimized so the plant can focus on growth, not recovery after each mow.
Reduced Disease and Pest Infestation
A clean cut minimizes the risk of disease transmission and reduces the likelihood of insect infestation. By avoiding jagged edges and torn grass, you create an environment where the grass can heal faster and remain more resistant to pests and diseases.
Enhanced Aesthetics
Proper grass-cutting techniques contribute to the aesthetic appeal of your lawn. powered reel mowers are excellent tools for creating beautifully defined stripes and lower cut lawns, thanks to their front rollers and rear drums, which stabilize the mower even when your turf isn’t perfectly smooth. The lower clean cut creates a manicured appearance that enhances the overall curb appeal of your property.
Encourages Even Growth
Consistent mowing at the right height encourages even growth across your lawn. powered reel mowers allow you to achieve a uniform cutting height, ensuring that all areas of the lawn receive equal treatment. The result? A lush, dense turf that’s the envy of the neighborhood.
Promotes Root Development
Proper grass-cutting techniques aren’t just about what’s above ground; they’re about what’s happening below the surface, too. By keeping that cutting height in check, you’re encouraging those roots to dive deep, which is essential for absorbing water and nutrients from the soil, as well as anchoring your lawn and making it resilient against whatever Mother Nature throws its way.
Training Your Lawn for Low Mowing
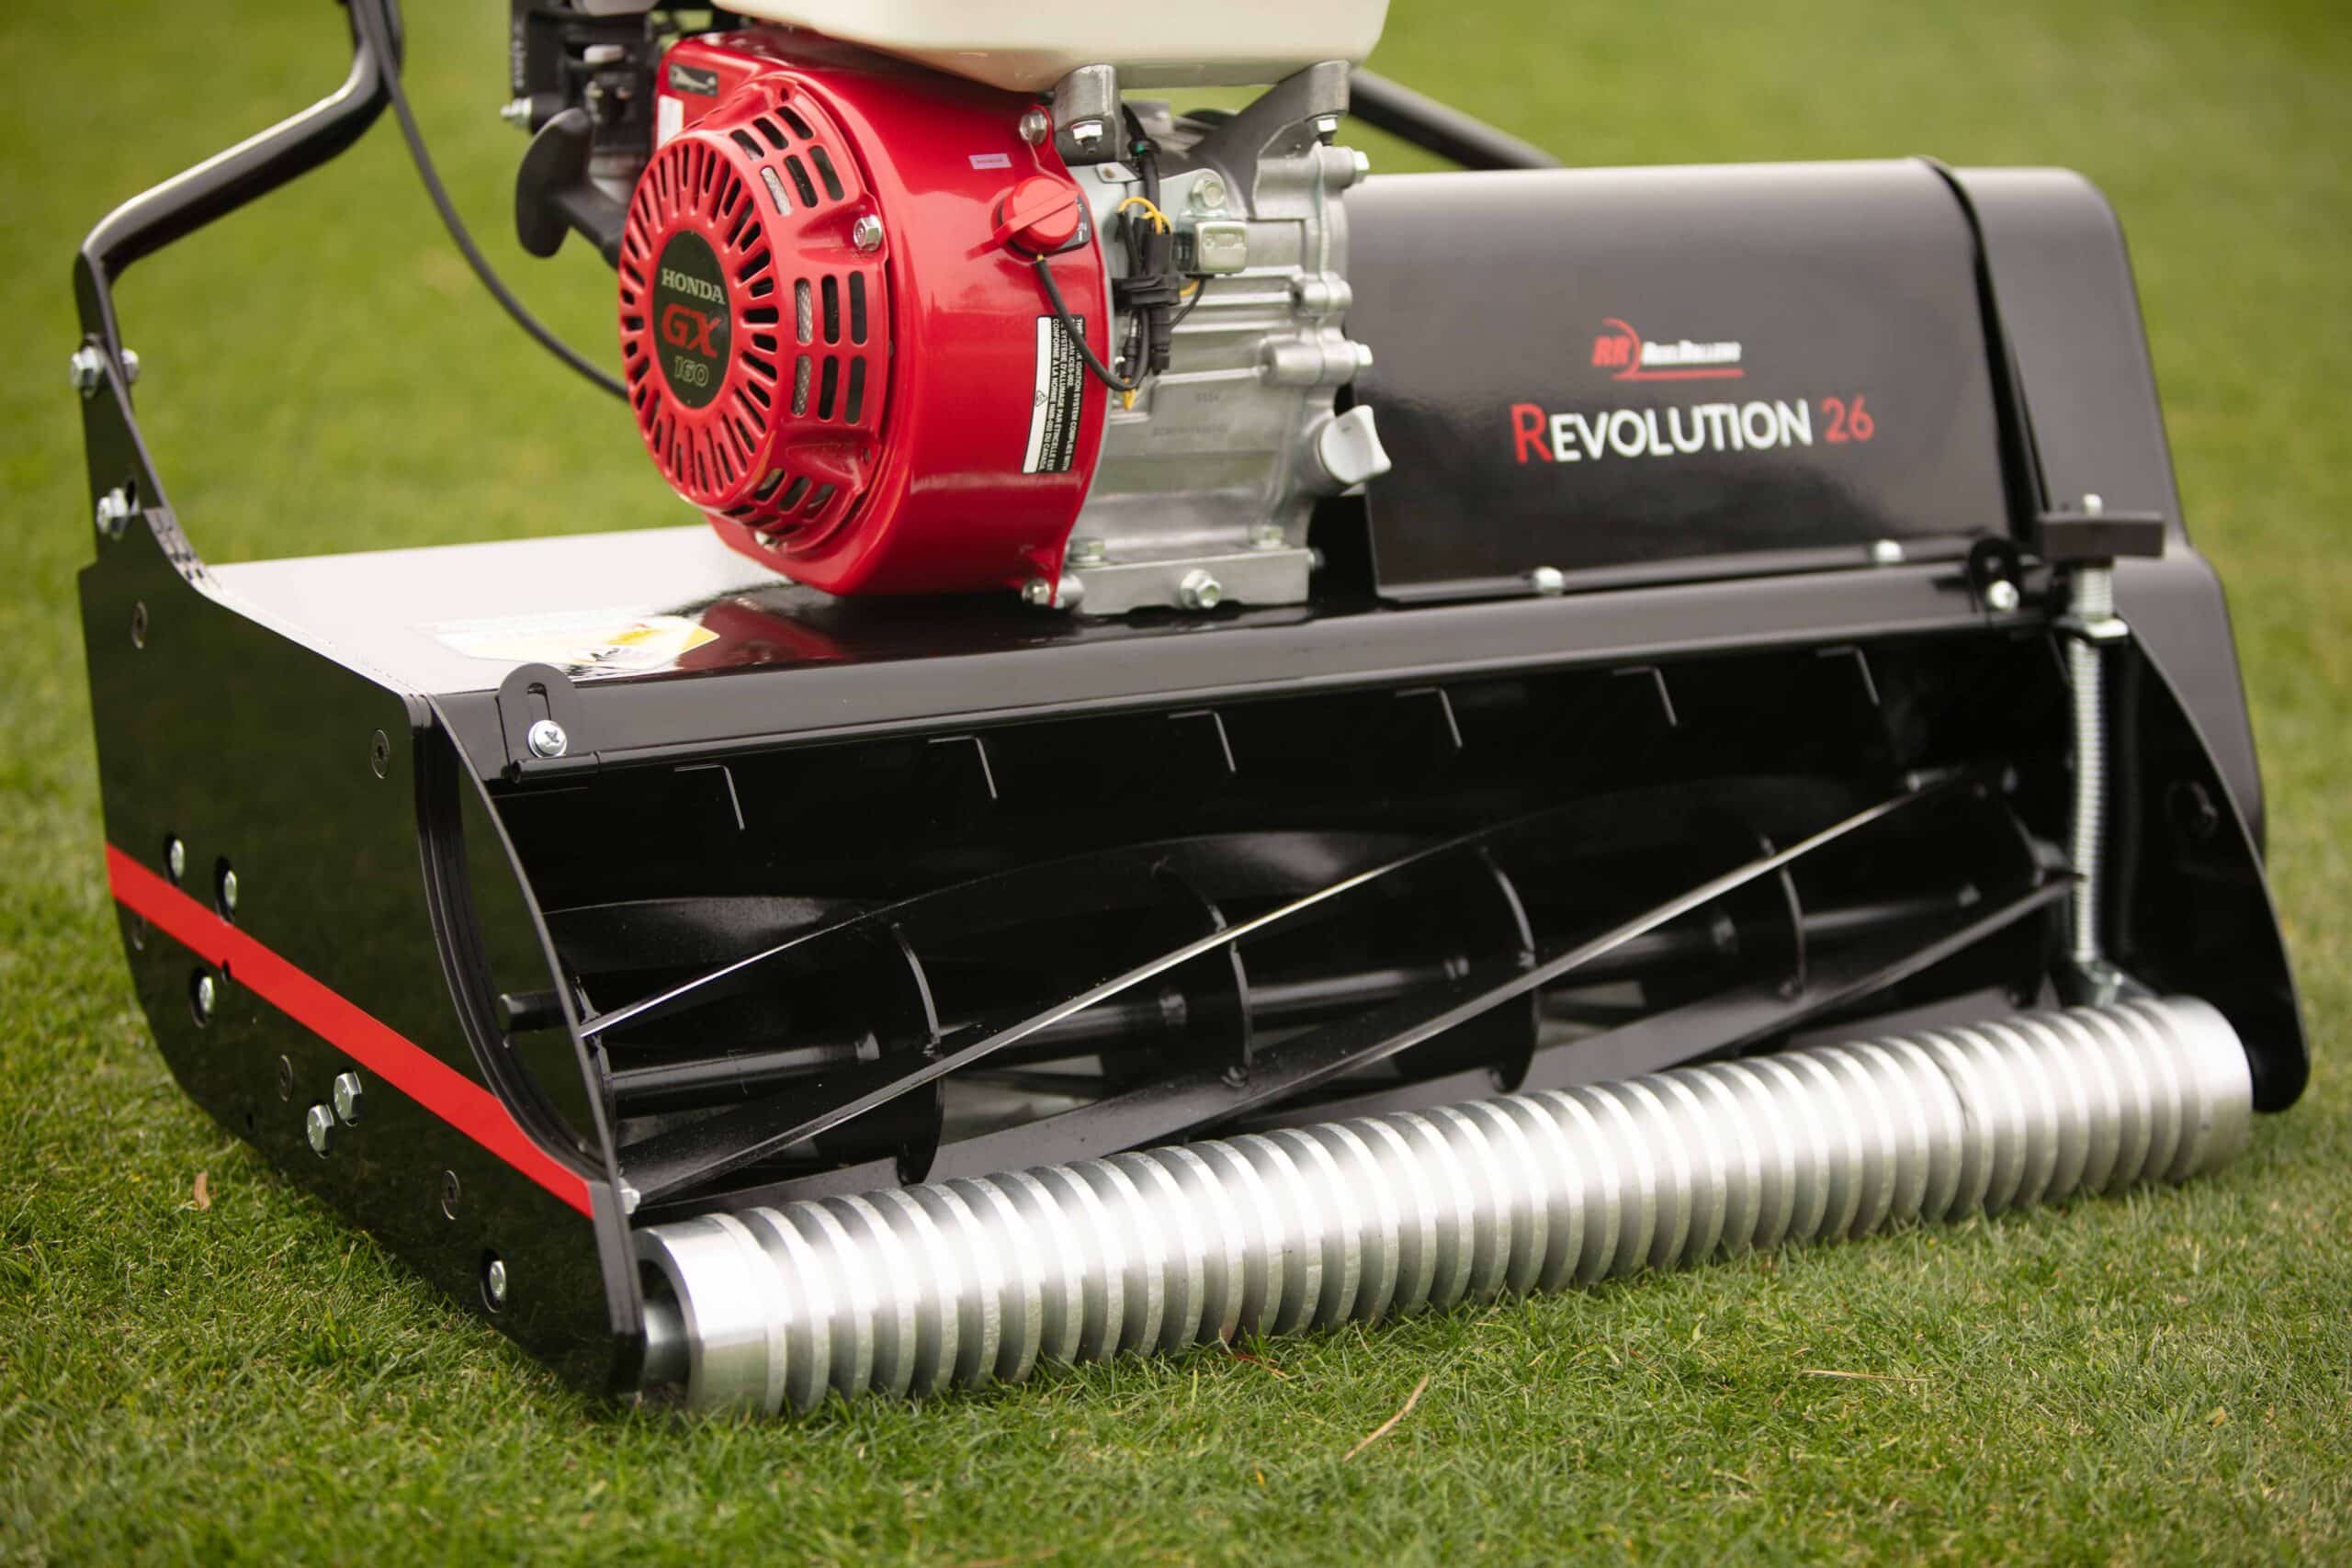
Training your lawn for low mowing can be implemented in two different ways. For some, you can take a systematic approach of gradually acclimating the grass to shorter cutting heights. This technique will result in less of a brown scalped appearance, but can also take several weeks to accomplish your goal height. For others, the most common approach is to bring your lawn down all in the same day by taking ½” of grass off with each pass. Although the grass will look brown during the growing season, it will recover in a week with a thicker, more lush lawn. Remember, always bring your grass down ¼” – ½” lower than where you plan to maintain it when training the lawn.
The One-Third Rule
One key principle of a healthy lawn is to mow frequently. The one-third rule is quite simple — never chop off more than one-third of the grass blade’s length in a single mow or you will remove most of the green lush appearance that comes from the grass blades… Consistent mowing is the key to a great-looking lawn.
Observation and Monitoring
Throughout the process of training your lawn for low mowing, it’s essential to closely monitor the grass’s response to each height adjustment. Healthy growth, vibrant color, and a dense canopy are positive indicators that the grass is adapting well to the lower-cutting regime. But if you start seeing signs of stress — browning, thinning, you name it — it’s time to hit the brakes and reassess your approach.
Adaptation Period
Keep in mind that training your lawn for low mowing is not an overnight transformation. It requires time for the grass to acclimate to the new cutting height and develop the necessary strength and resilience to thrive under these conditions.
Frequent Mowing Schedule
Consistency is paramount when it comes to training your lawn for low mowing. For optimal results, you’ll want to create a mowing schedule as well-oiled as your mower based on the growth rate of your specific grass type. Aim to mow your lawn at regular intervals — some folk mow every day during the growing season, but at least twice a week should ensure that the grass never exceeds a certain height. This approach prevents shock to the grass and encourages a gradual acclimation to lower mowing heights over time.
Seasonal Considerations
During the growing season, which is usually the spring and summer months, your grass is in overdrive, growing faster than a speeding bullet. But come winter, it’s time to take it easy, dialing back the mowing frequency to match the slower growth rates. It’s all about working with Mother Nature, not against her. By aligning your mowing schedule with seasonal changes, you can effectively manage grass growth and promote a healthy, well-manicured lawn year-round.
Grass Type Specifics
Different grass species and varieties have varying growth rates and maintenance requirements. Whether you have cool-season grasses like Kentucky bluegrass and fescue or warm-season varieties such as Bermuda grass and Zoysia grass, it’s essential to tailor your mowing schedule to suit the specific needs of your grass type.
Use this infographic as a general guide to the ideal height for your lawn. But remember, the one-third rule trumps everything else. That’s right — even these specific mowing height recommendations take a back seat to this golden rule. So, even if you’re aiming for a putting green, stay within that one-third threshold for each mow. Your lawn will be at the perfect height and looking awesome before you know it.
Adequate Watering and Fertilization
It goes without saying that your lawn needs proper hydration and nutrient supply to maintain its health, especially during the transition to lower mowing heights. Deep watering and regular fertilization promote robust root growth and resilience against stress.
Techniques for Even and Smooth Mowing
Achieving even and smooth mowing results is essential for maintaining a well-manicured lawn. Proper mowing techniques not only enhance the appearance of the grass but also promote its health and resilience. Here are some techniques for achieving even and smooth mowing using a reel mower:
- Overlap each mowing pass: Emphasize the importance of overlapping each mowing pass to ensure consistent coverage and avoid leaving uncut strips of grass. Gas-powered reel mowers, with their precision cutting capabilities, allow you to achieve uniform cutting across the entire lawn. Overlapping each pass by about one to two inches ensures that no areas are missed, resulting in a clean and even cut.
- Maintain a straight mowing line: Keeping a steady and straight mowing line is crucial for achieving uniform coverage and minimizing the risk of scalping or damaging the grass. Reel mowers offer excellent maneuverability, allowing you to maintain a straight path while mowing. Focus on a fixed point in the distance and mow parallel to it, using it as a guide to keep your mowing path straight. Avoid making sudden turns or changes in direction, as this can lead to irregular cutting and result in visible patterns on the lawn.
- Controlled mowing speed: Controlling your mowing speed is essential for achieving even and smooth results. Mowing too quickly can result in uneven cutting and scalping, while mowing too slowly may cause the grass to bend rather than be cleanly cut. Aim for a moderate mowing speed that allows the mower blades to effectively trim the grass without causing damage or leaving behind uneven patches. Pay attention to the condition of the grass and adjust your speed accordingly, especially when mowing over areas with thicker or taller grass.
- Inspect and sharpen mower blades: Regular inspection and sharpening of mower blades are essential for achieving a clean and even cut. Reel mowers come equipped with sharp blades that slice through the grass with minimal resistance, resulting in a smooth and uniform cut. However, over time, blades may become dull due to normal wear and tear. Inspect your mower blades regularly and sharpen them as needed to maintain optimal cutting performance. Sharp blades ensure that the grass is cleanly cut, promoting healthier growth and reducing the risk of damage or disease.
Adjusting Cutting Height Settings
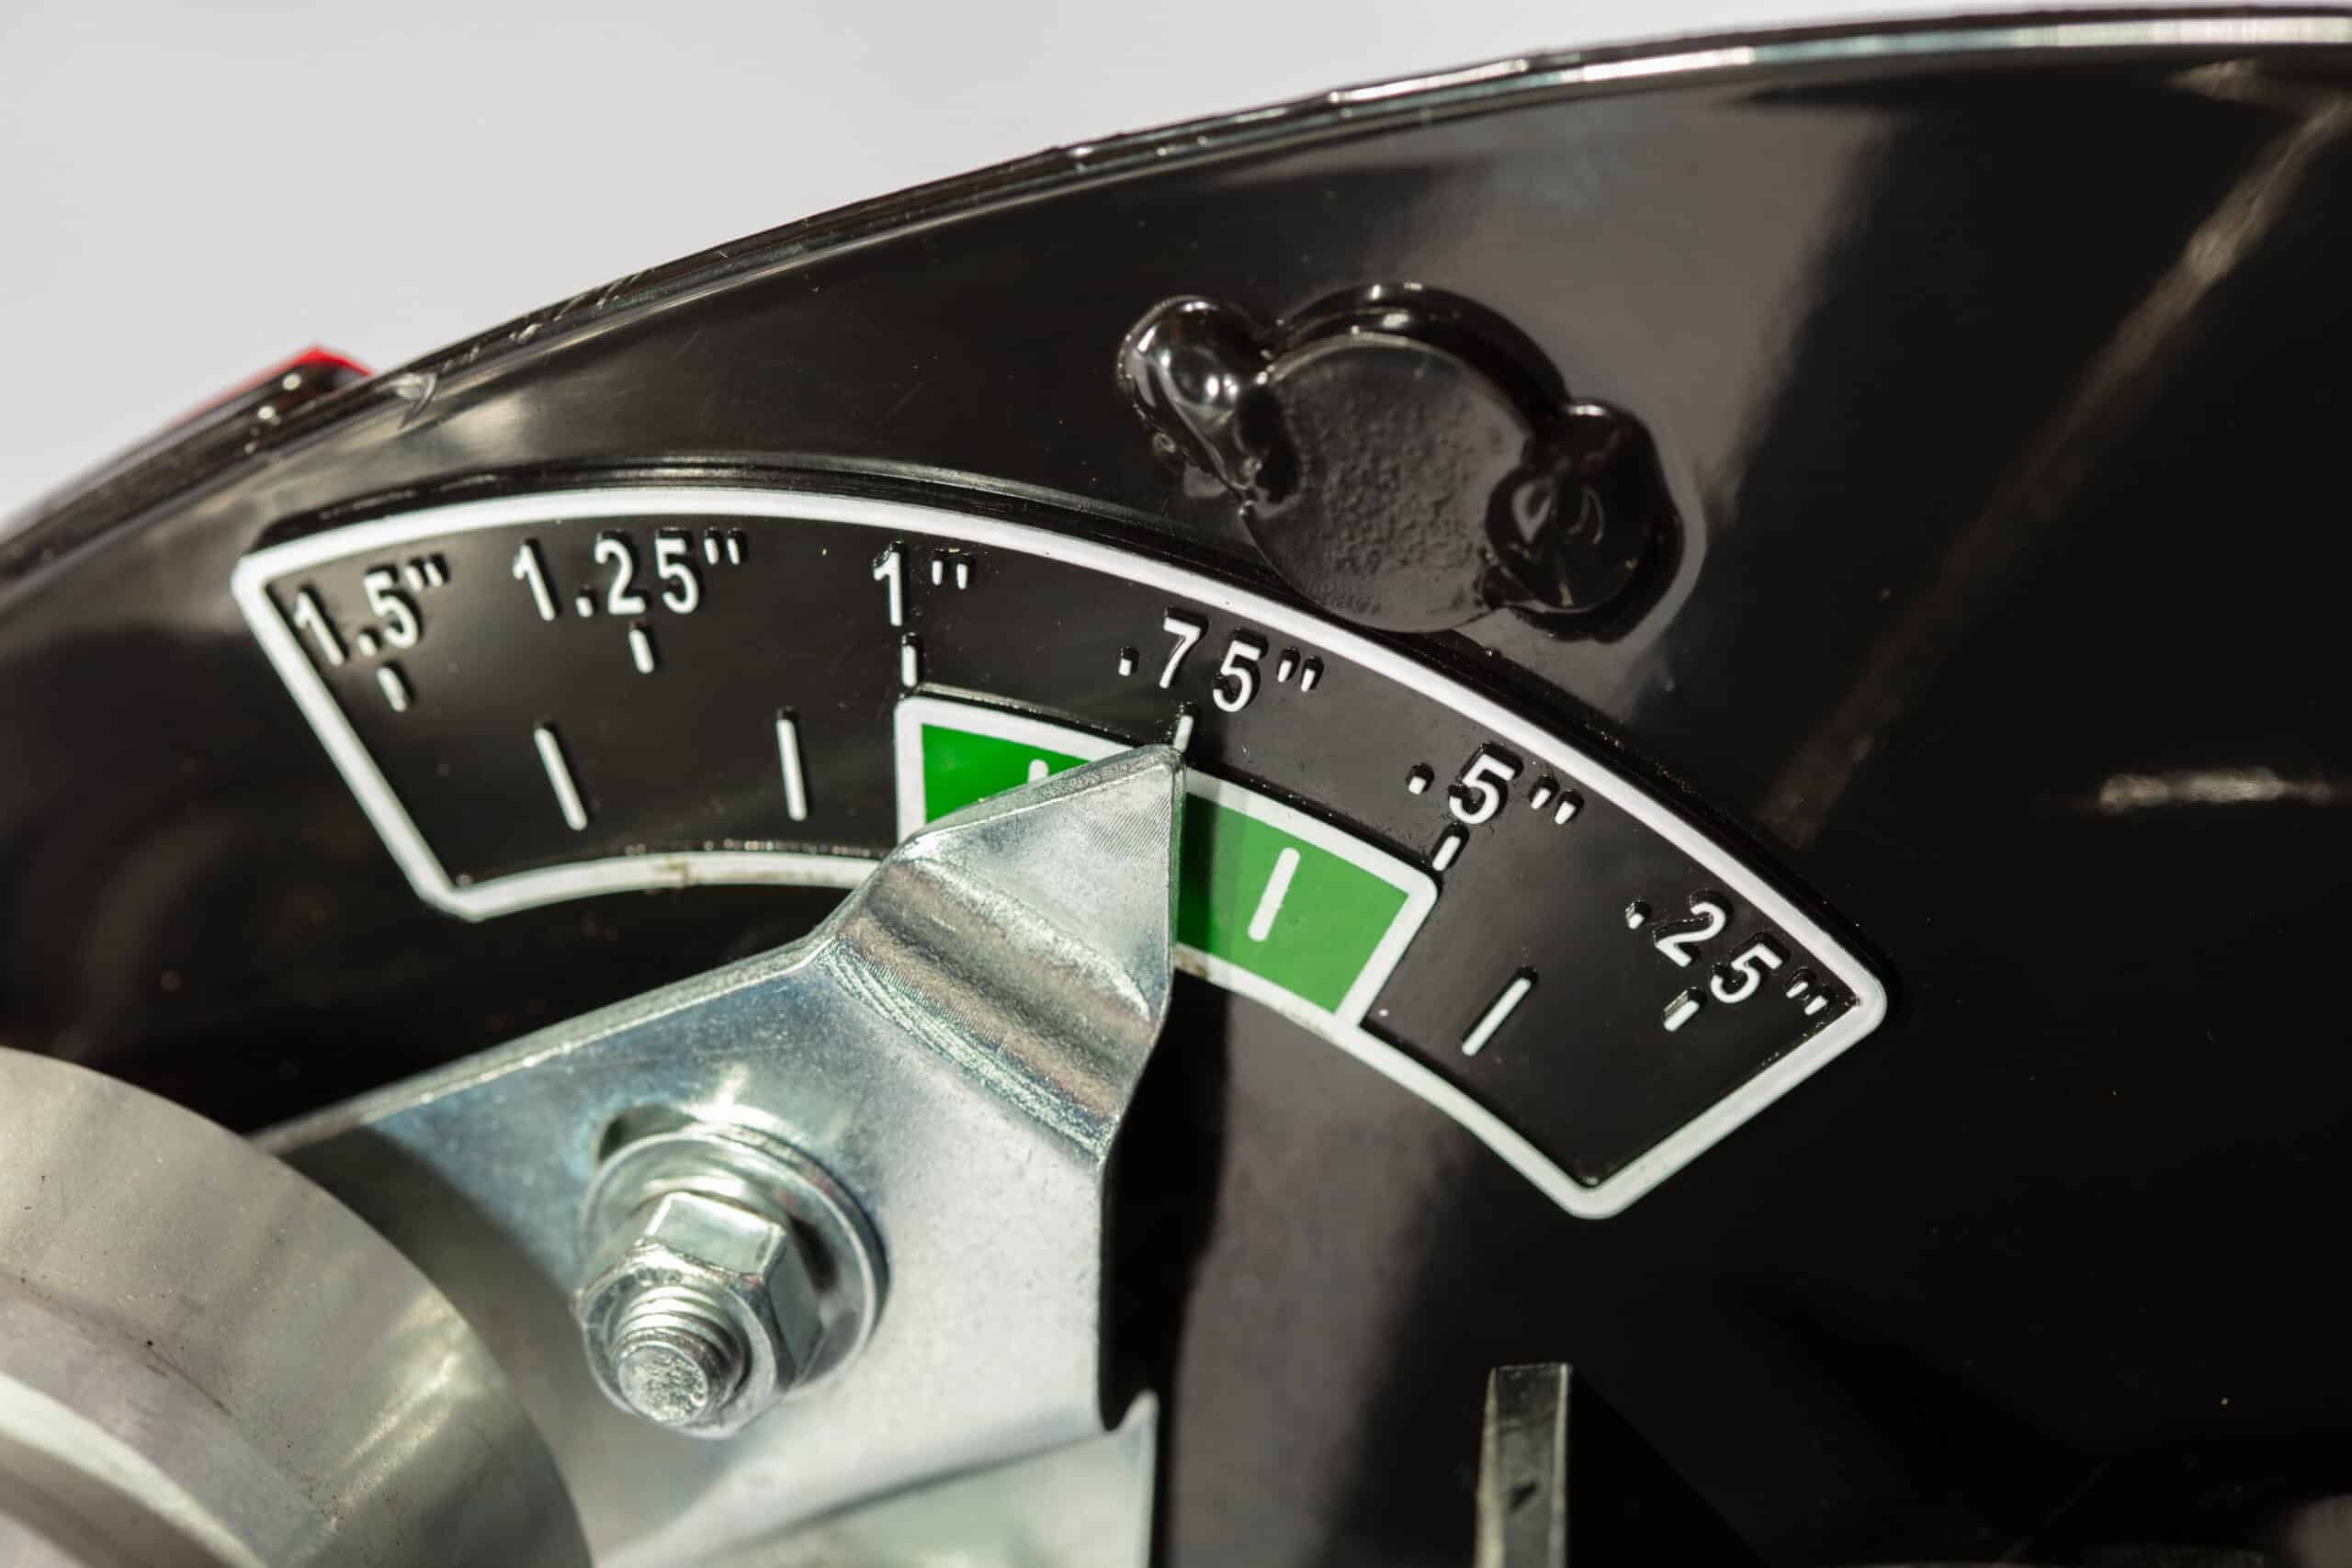
Adjusting the cutting height on a reel mower is more simple than you might think. Here’s how you do it:
- Locate the adjustment mechanism: Look for the cutting height adjustment mechanism on your reel mower. It’s typically located near the wheels or handles, depending on the model.
- Check for adjustment options: Some reel mowers have a single adjustment lever or knob that allows you to change the cutting height for all wheels simultaneously. Others may have individual height adjustment mechanisms for each wheel.
- Choose your cutting height: Determine the desired cutting height for your lawn. Reel mowers usually offer multiple height settings to accommodate different grass lengths and preferences.
- Test and fine-tune: After making the adjustment, give your reel mower a test run on a small section of your lawn. Check the cutting height to ensure it meets your expectations. If necessary, fine-tune the adjustment until you achieve the desired cutting height across your entire lawn.
Using a Reel Mower on Uneven Terrain
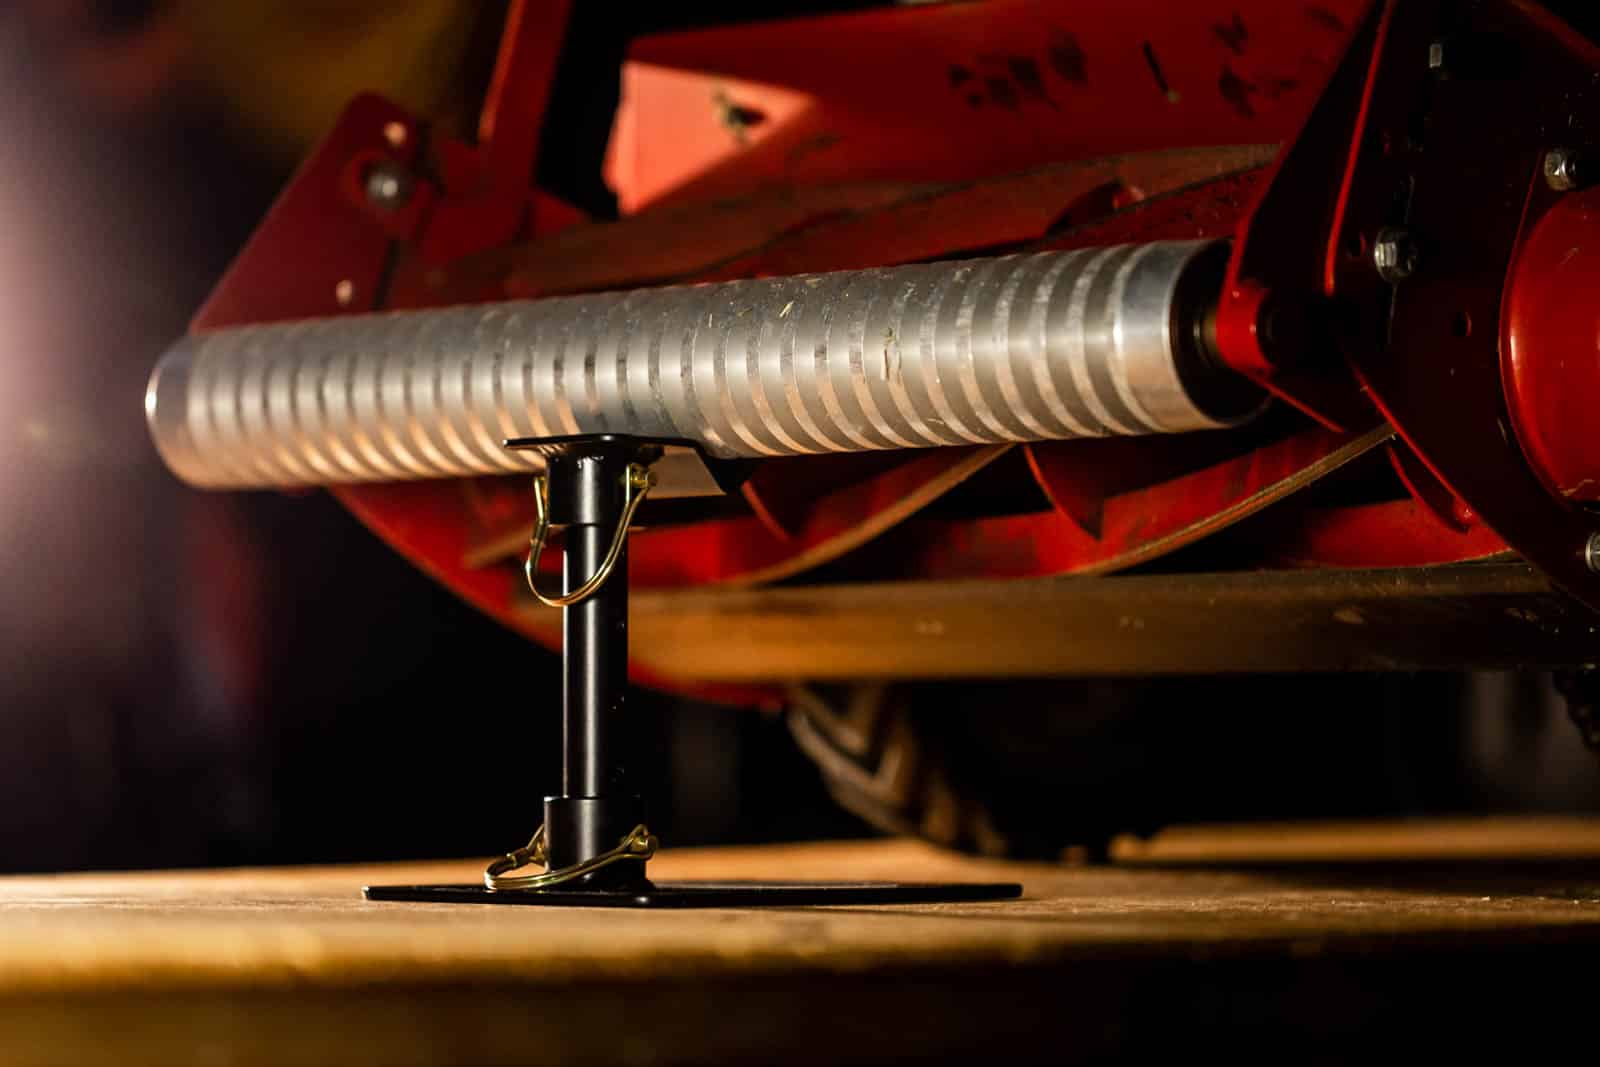
Replacing the castor wheels that are usually fitted as standard on your reel mower with a front roller is a total game-changer when it comes to keeping the cutting height uniform, especially on uneven terrain. Here’s how:
- Consistent pressure distribution: A front roller applies constant downward pressure across the width of the reel, ensuring uniform contact between the blades and the grass. This consistent pressure distribution helps maintain a steady cutting height, regardless of the variations in the terrain.
- Reduced bouncing and floating: When mowing over uneven terrain, traditional castor wheels can bounce or float, causing fluctuations in the cutting height as the mower moves across the lawn. A front roller acts as a stabilizing force, minimizing bouncing and keeping the reel mower level. This stability contributes to a more uniform and consistent cut.
- Prevents scalping: Uneven terrain often results in certain areas of the lawn being lower or higher than others. Castor wheels may inadvertently lower the cutting height in high spots, leading to scalping, while failing to reach the grass in low spots, resulting in uneven cuts. In contrast, a front roller maintains a steady height adjustment, preventing scalping on high spots and ensuring the mower effectively cuts grass in low spots.
- Improved maneuverability: Front rollers have a much wider surface area (most reel mowers are between 20 and 27 inches wide, and the front roller spans the width of the front of the mower) compared to castor wheels, providing better traction and stability on uneven terrain. This enhanced maneuverability allows the mower to navigate bumps, dips, and slopes more smoothly, reducing the likelihood of uneven cuts caused by wheel slippage or loss of traction.
Mowing Patterns: Achieving a Manicured Lawn

Mastering mowing patterns is crucial to achieving a manicured lawn. Varying mowing patterns enhance the lawn’s visual appeal and contribute to its overall health and vitality.
By avoiding repetitive mowing in the same direction, you can prevent issues such as ruts and burn-in, which occur when grass is repeatedly subjected to the same cutting pattern. Instead, alternating between different mowing patterns — such as lengthwise, diagonally, or in a checkerboard fashion — promotes even growth and a uniform appearance across the lawn. This practice ensures that no area of the lawn is overexposed to stress and encourages healthier grass growth.
Mowing on Slopes with a Reel Mower: Special Considerations
Mowing slopes with a reel mower presents unique challenges due to the mower’s weight distribution and cutting mechanism. Mowing lengthwise on slopes can lead to uneven cutting, as the mower’s weight may cause it to dig into the grass on downward slopes and ride over the grass on upward slopes.
To achieve a more balanced cut, we recommend fitting a front roller to your mower and mowing diagonally across slopes. This technique distributes the mower’s weight more evenly and reduces the risk of scalping or uneven cutting. Additionally, creating a border along the edge of the slope with a trim pass can facilitate smoother turns and prevent damage to the lawn.
Time to Get Reel
Gas-powered reel mowers offer precision cutting and promote healthier turf compared to traditional mowers. By employing proper grass-cutting techniques, training the lawn for low mowing, and maintaining a frequent mowing schedule, homeowners can achieve a lush, well-manicured lawn while minimizing environmental impact.

